Butter Cookies

Ingredients - Dough

Ingredients - Topping

Notes

Prep time 15 min / Baking time 10-12 min / Fridge time 30-60 min / Total time ~1.5-2h

Oven temperature: 180°C 

Christmas Cookies

There’s nothing better than ringing in the festive season with the smell of fragrant cookies. Even when I was a child myself, this was one of the best things about this time of year for me. Whether with my mum, my grandma or my best friend – baking cookies was simply part of it! That’s why it’s been a tradition in our little family for many years now that we start planning and getting the right ingredients – often at the end of November. By the first Advent at the latest, the first home-made Christmas cookies are on the table.

We started involving my son in the baking early on, even if it felt like more dough and ingredients ended up on the floor than in the cookies at first 😂. It’s all the better to see the development and how much fun it still is for him to stand in the kitchen together and bake cookies with great perseverance. Whereas in the past you used to let your child carry out individual steps, you realise that over time they take on more and more responsibility and are able to do a lot on their own. We particularly notice this right now when it comes to cooking. 

Christmas Cookies
Christmas Cookies
Christmas Cookies
Christmas Cookies

Preparation

  • Add flour, regular and vanilla sugar to a bowl. Next, add the butter in small pieces, the egg and a pinch (!) of salt and knead into a smooth dough
  • If you like, you can also add additional aroma at this point. I personally love to add some cinnamon or gingerbread flavour. 
  • Shape the dough into a large ball, wrap in cling film and refrigerate for at least half an hour
  • Heat the oven to 180 degrees top and bottom heat
  • Cut the dough ball in half (put one half back in the fridge) and roll out on a baking mat or lightly floured work surface
  • Cut out the cookies and place on a baking tray lined with baking paper. Do the same with the second portion of dough. Knead the leftover dough again and again and chill briefly
  • Brush the cookies with a whisked egg yolk if you like
  • Bake for approx. 10-12 minutes, depending on thickness, until golden brown
  • Leave to cool, remove from the tray and decorate according to your personal preference (e.g. icing, chocolate, decorative sprinkles etc).

The great thing about butter cookies is that they are so incredibly versatile. In the past, we have therefore baked cookies in every imaginable colour and shape using the same recipe. There are really no limits to the imagination here. These are a few examples of how you could decorate your cookies:

Christmas Cookies
Christmas Cookies
Christmas Cookies
Christmas Cookies

Choosing the right cookie cutter

  • Material: Cookie cutters are made from a variety of materials, including metal, plastic, and silicone. Metal cookie cutters are the most durable and will last for many years. Plastic cookie cutters are less durable but are often more affordable and easier to use. Silicone cookie cutters are flexible and easy to remove from the dough, but they may not be as sharp as metal or plastic cutters.
  • Size: Cookie cutters come in a variety of sizes, from small to large. Consider the size of the cookies you want to make when choosing a cutter. If you are making cookies for children, you may want to choose smaller cutters.
Christmas Cookies

General Tips

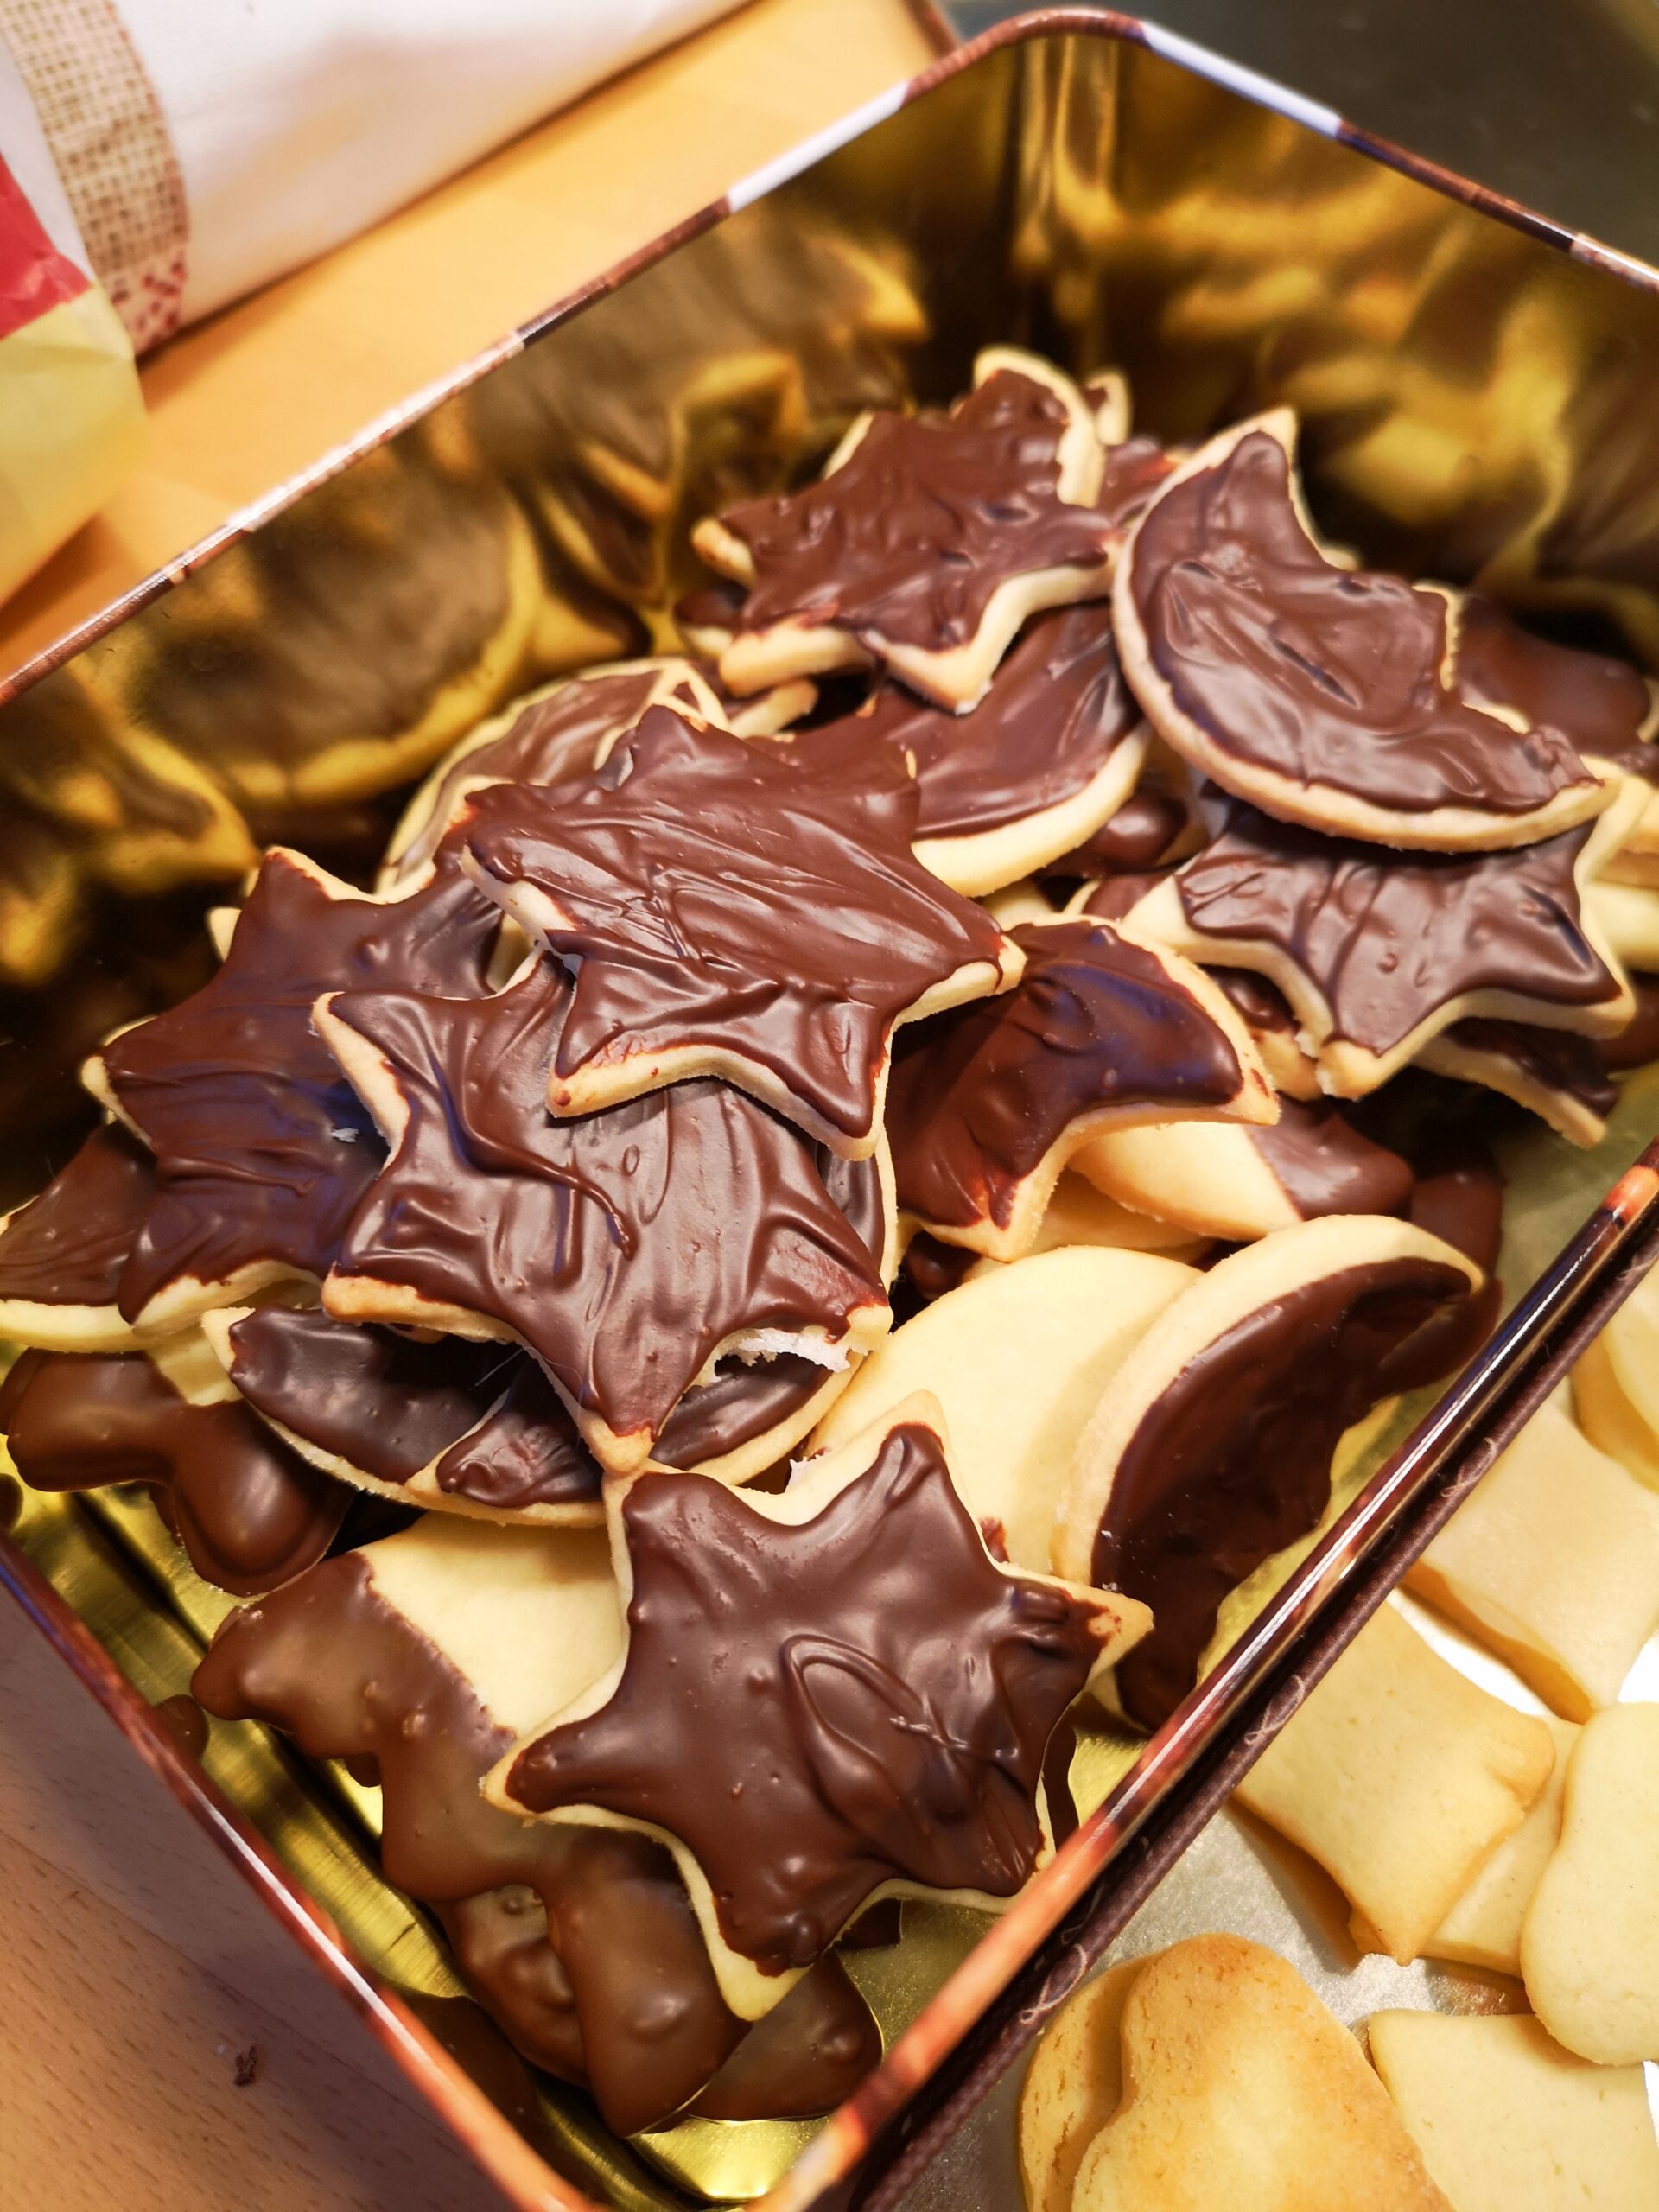
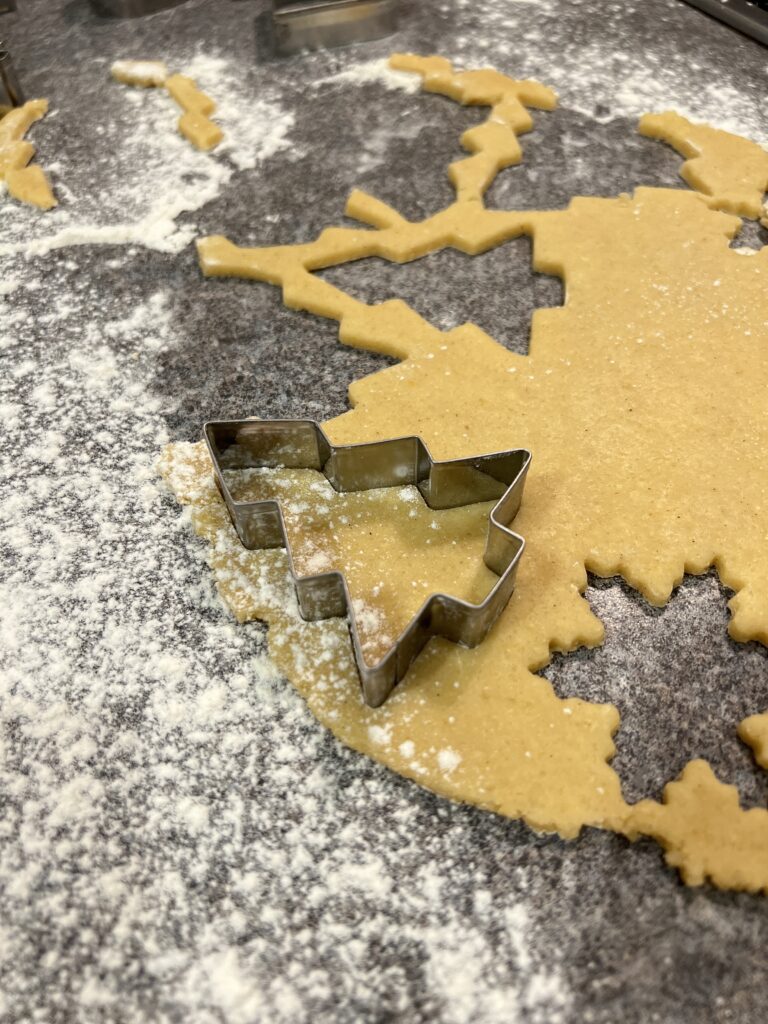
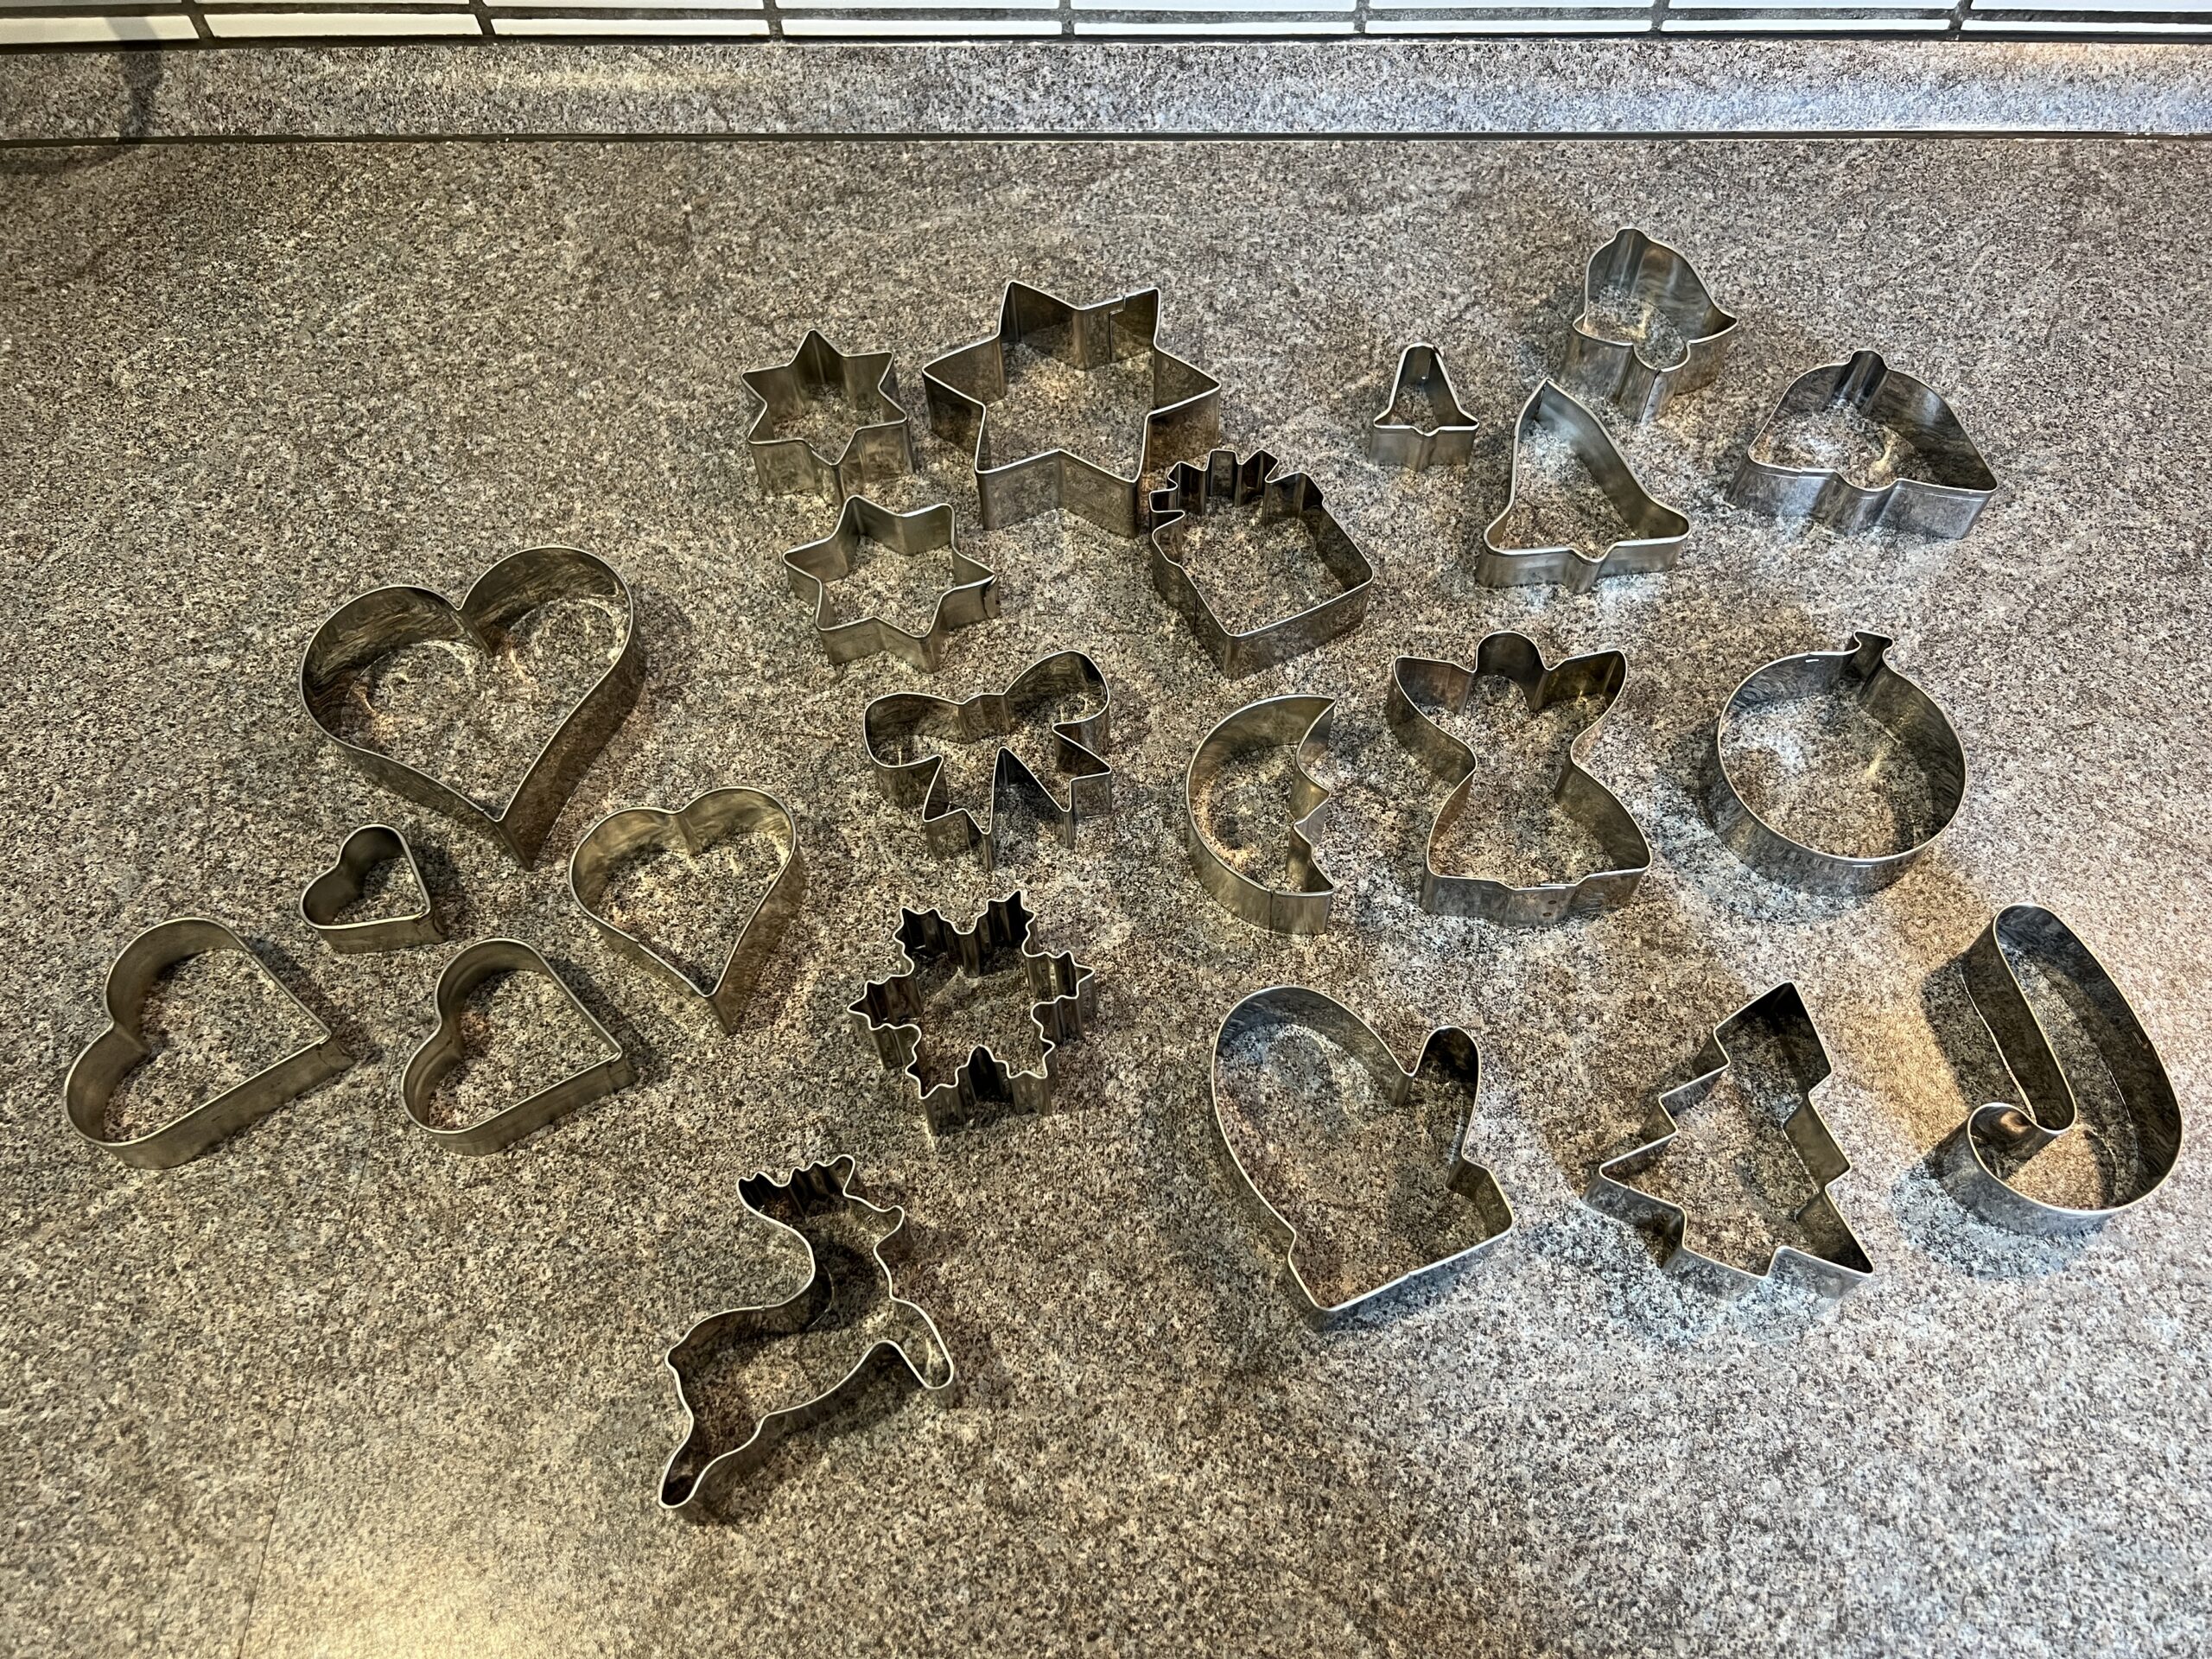
  • Get creative with cookie cutters: There are endless possibilities when it comes to cookie cutters. You can use traditional shapes like stars, hearts, and snowflakes, or you can get more creative with animal shapes, holiday-themed shapes, or even your own custom designs
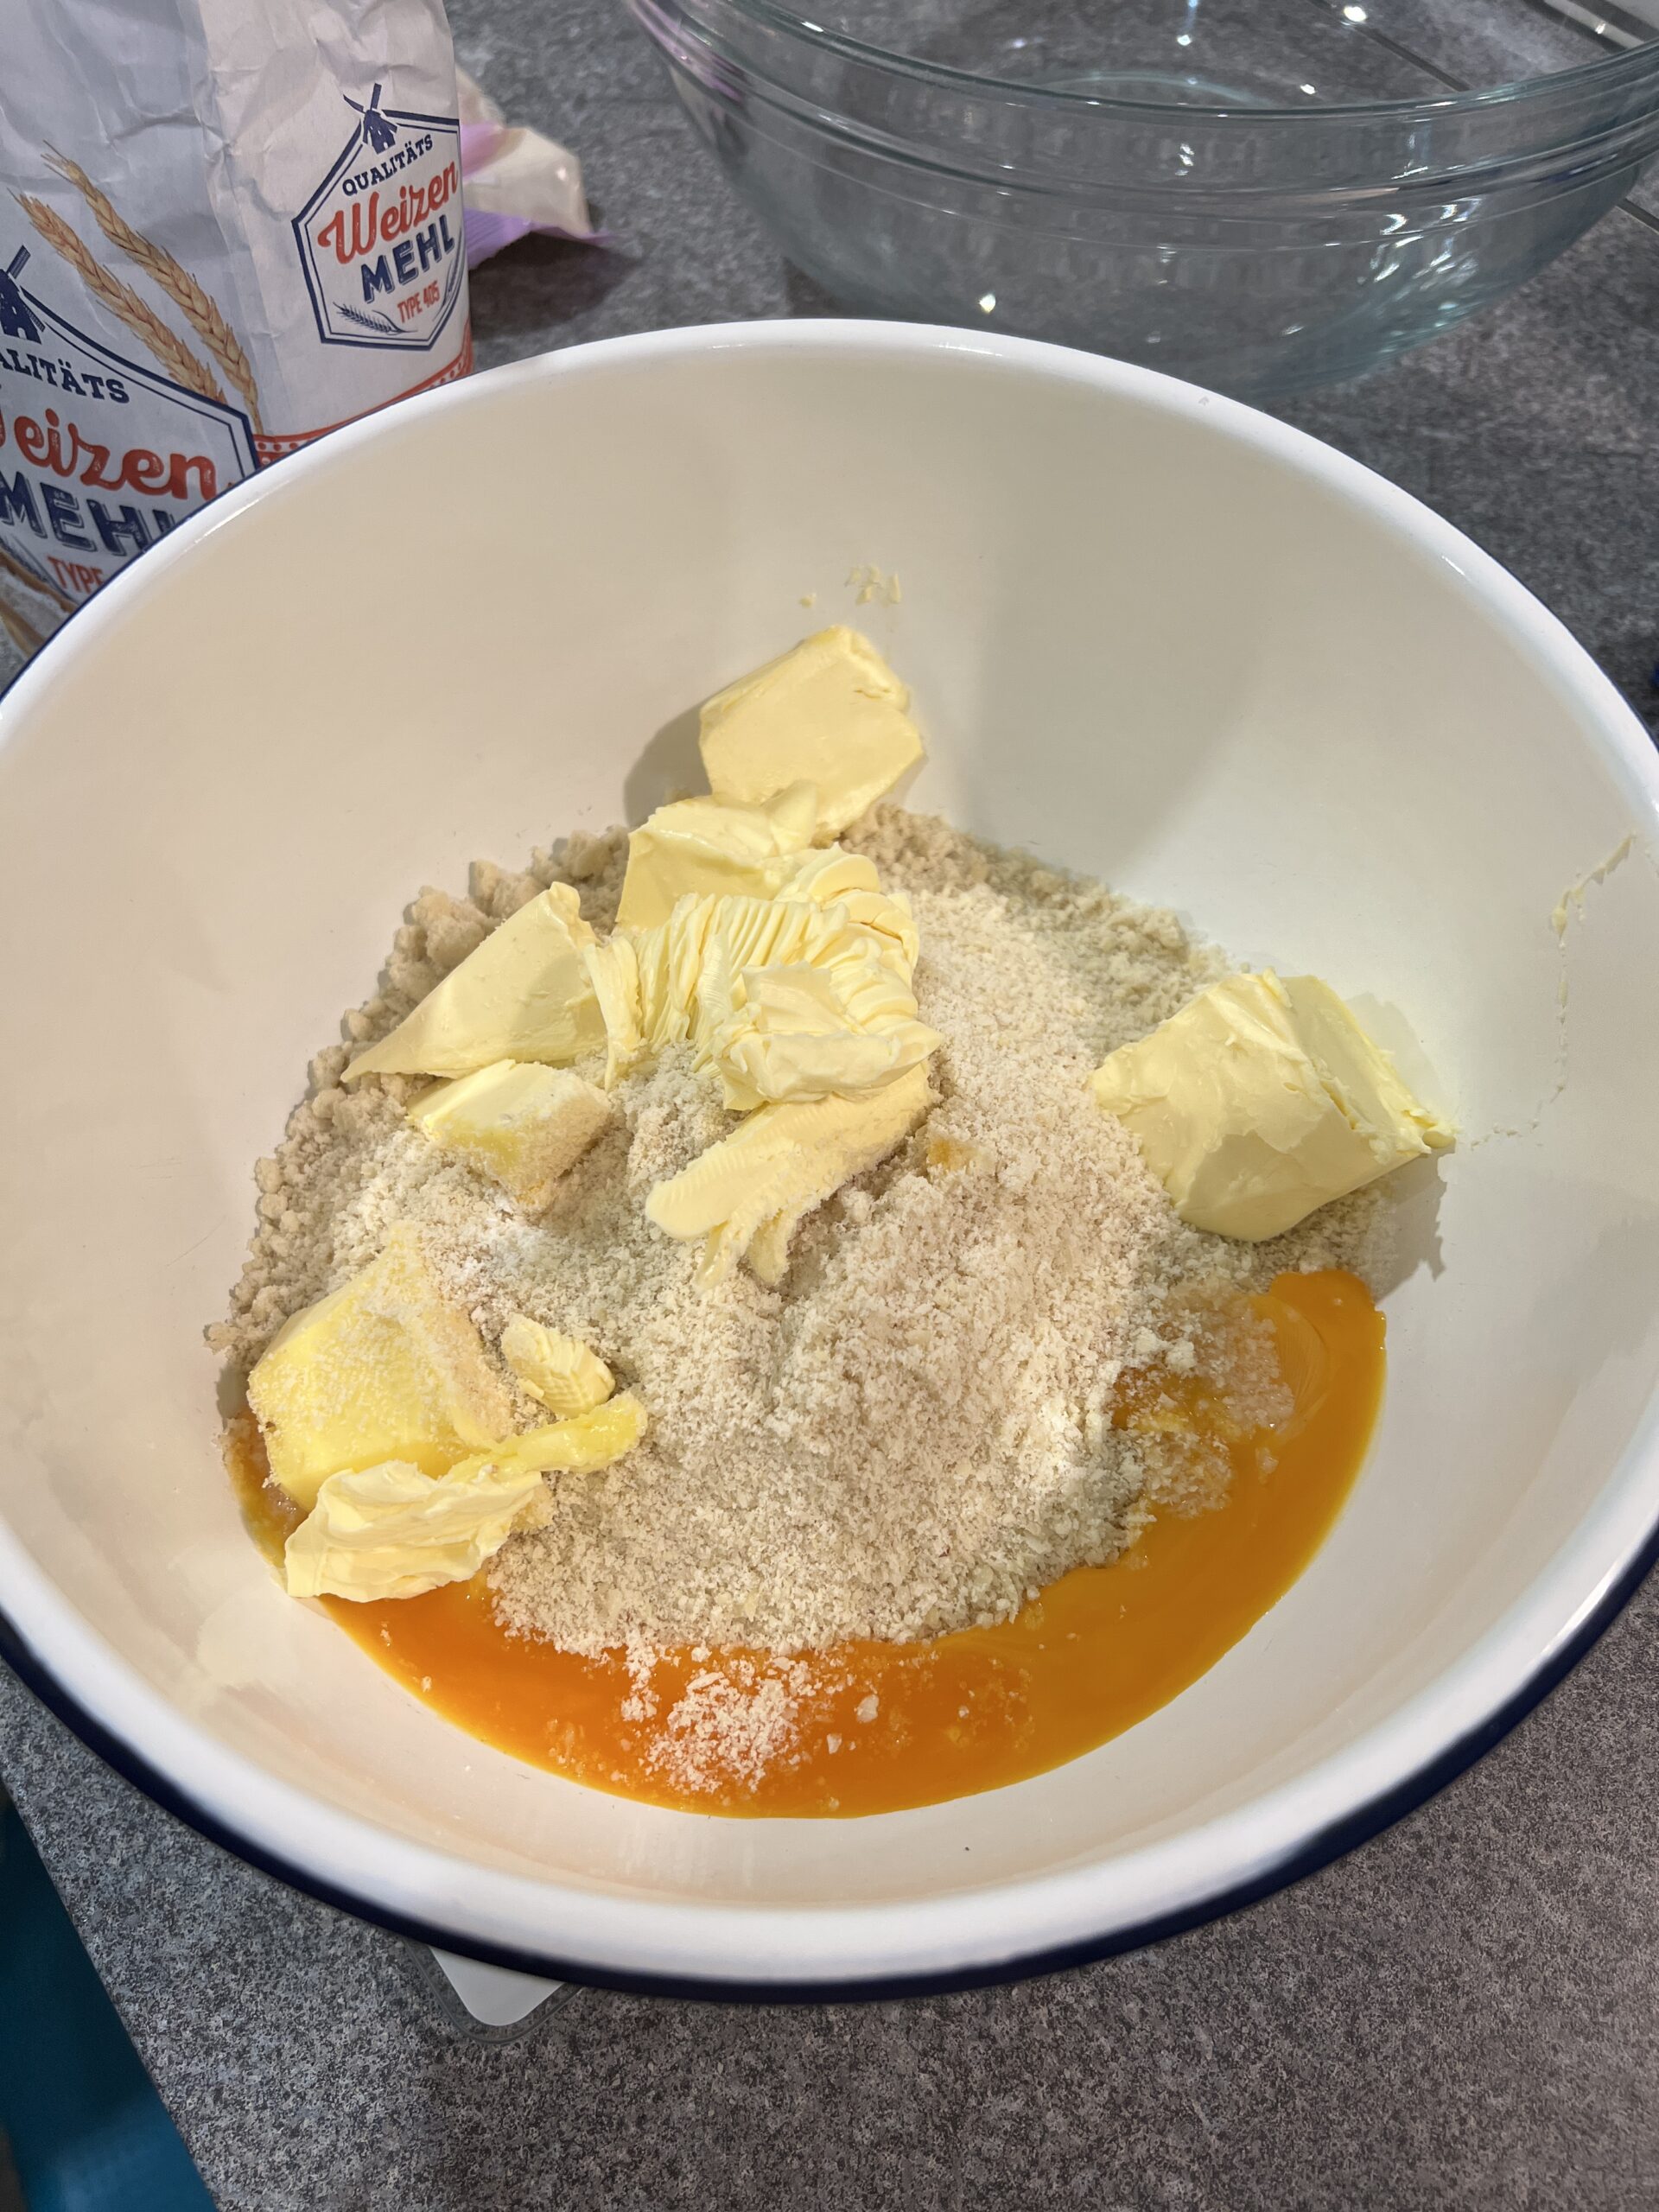
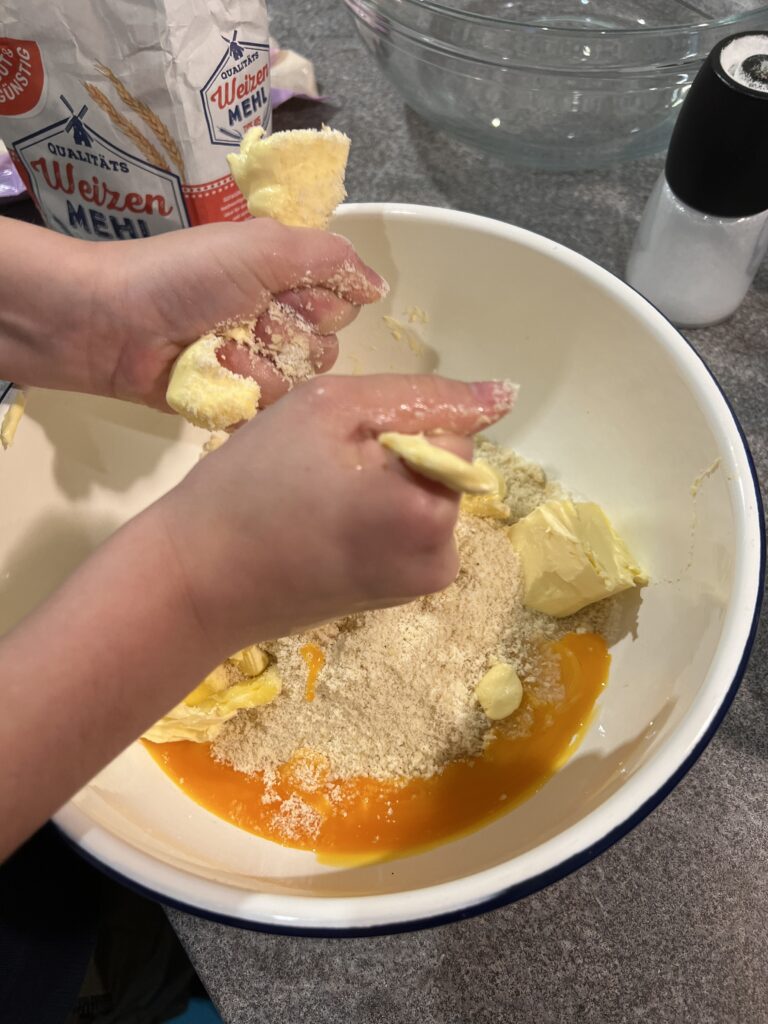
  • Flavor the dough: You can add different flavors to your butter cookies dough by using extracts, spices, or zest. Some popular flavorings include vanilla extract, almond extract, cinnamon, nutmeg, and lemon zest
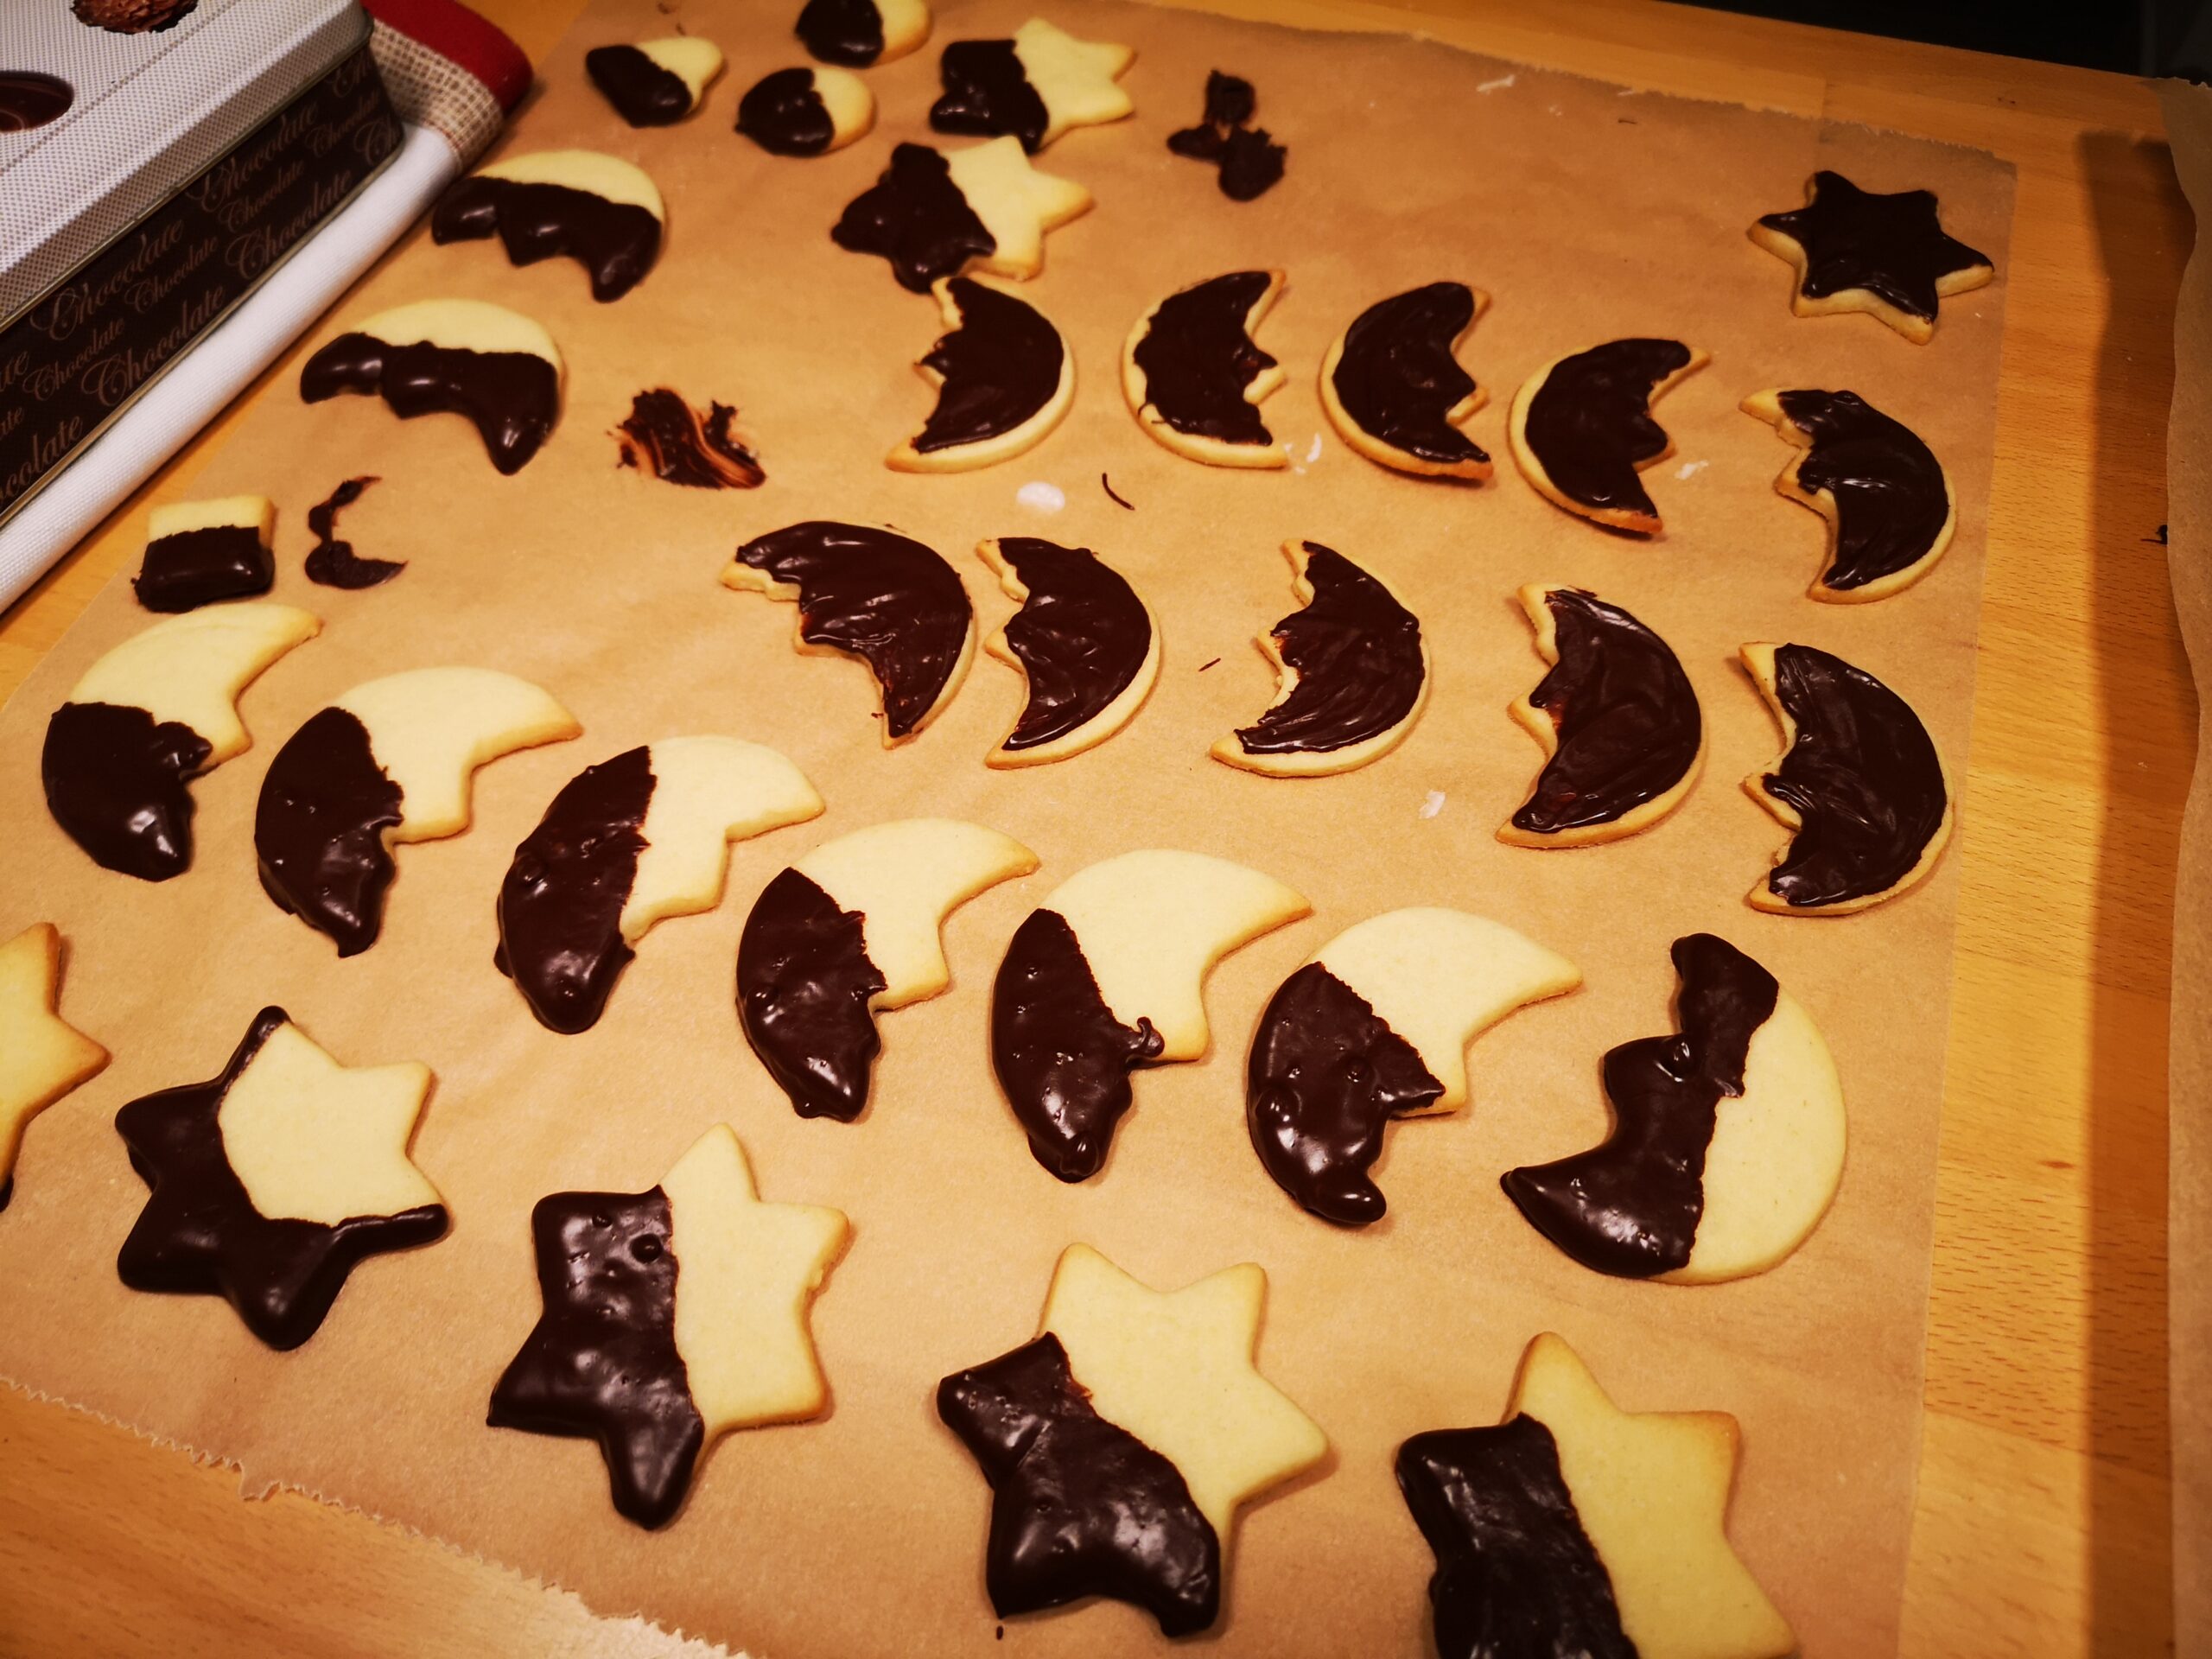
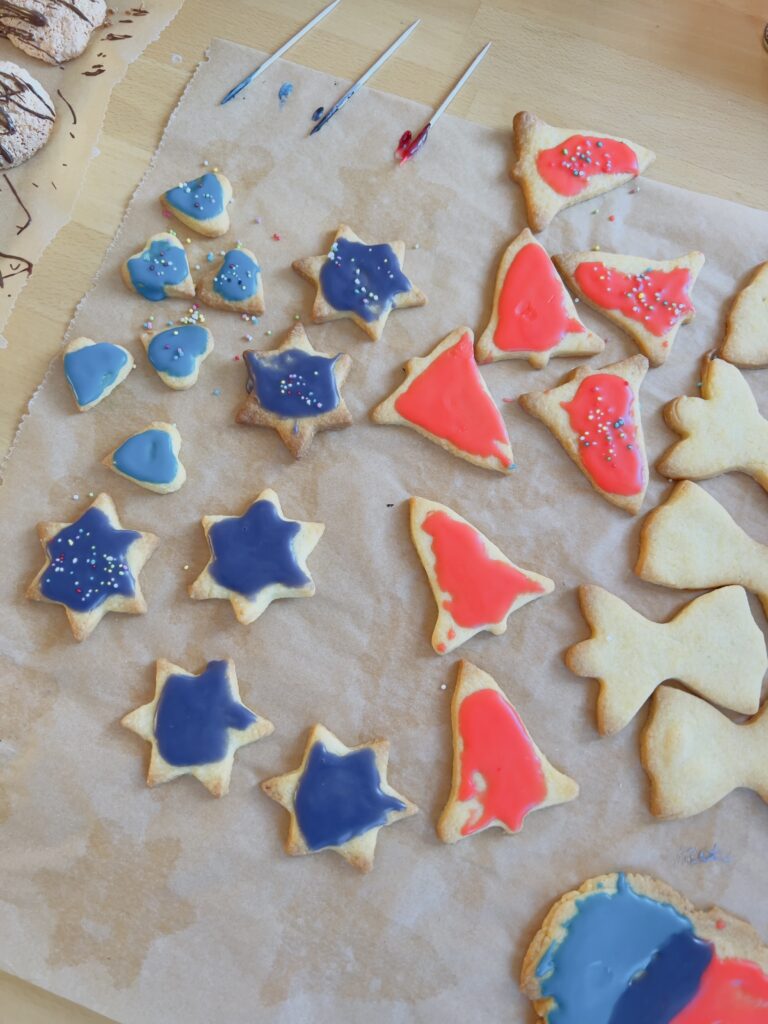
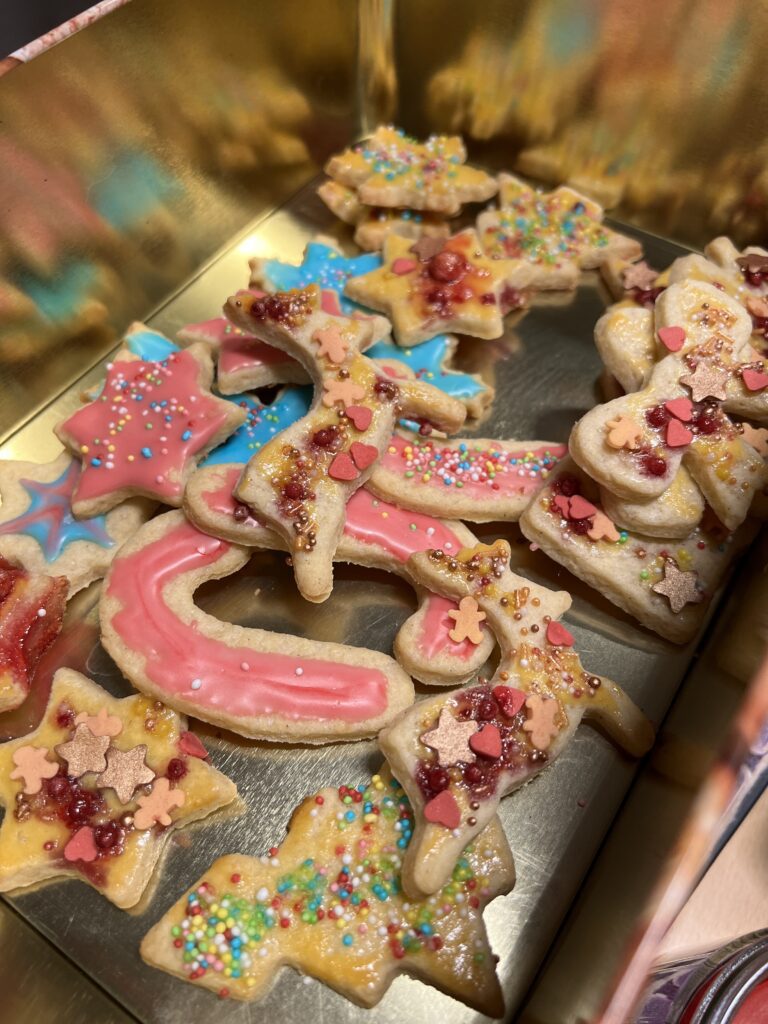
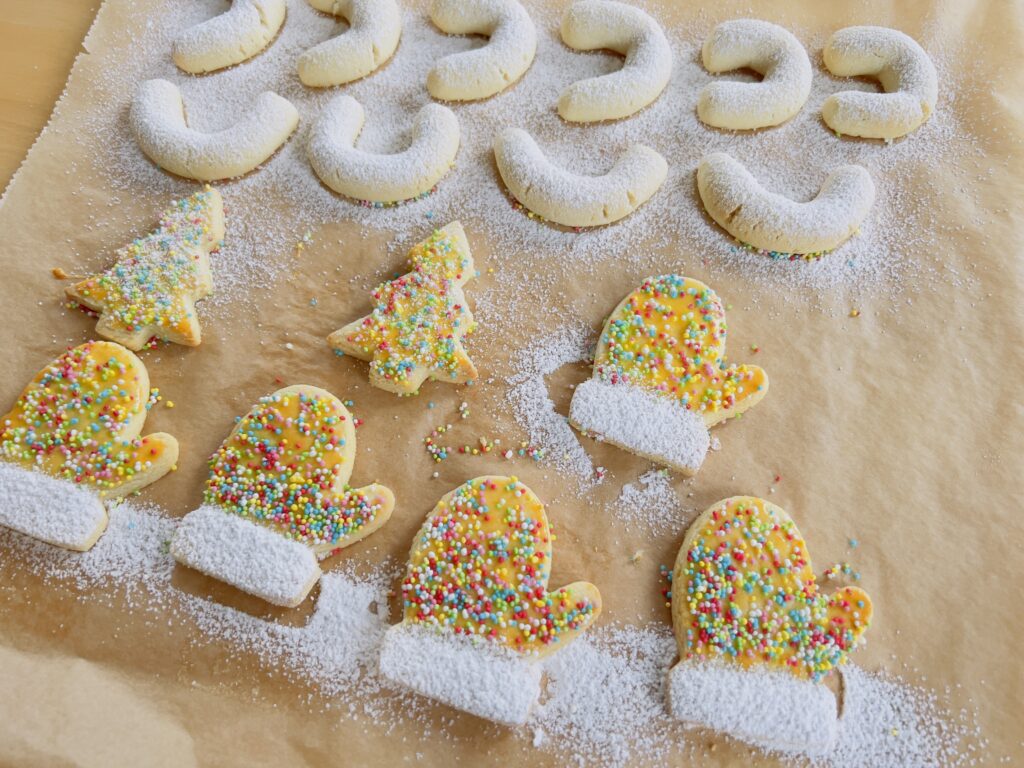
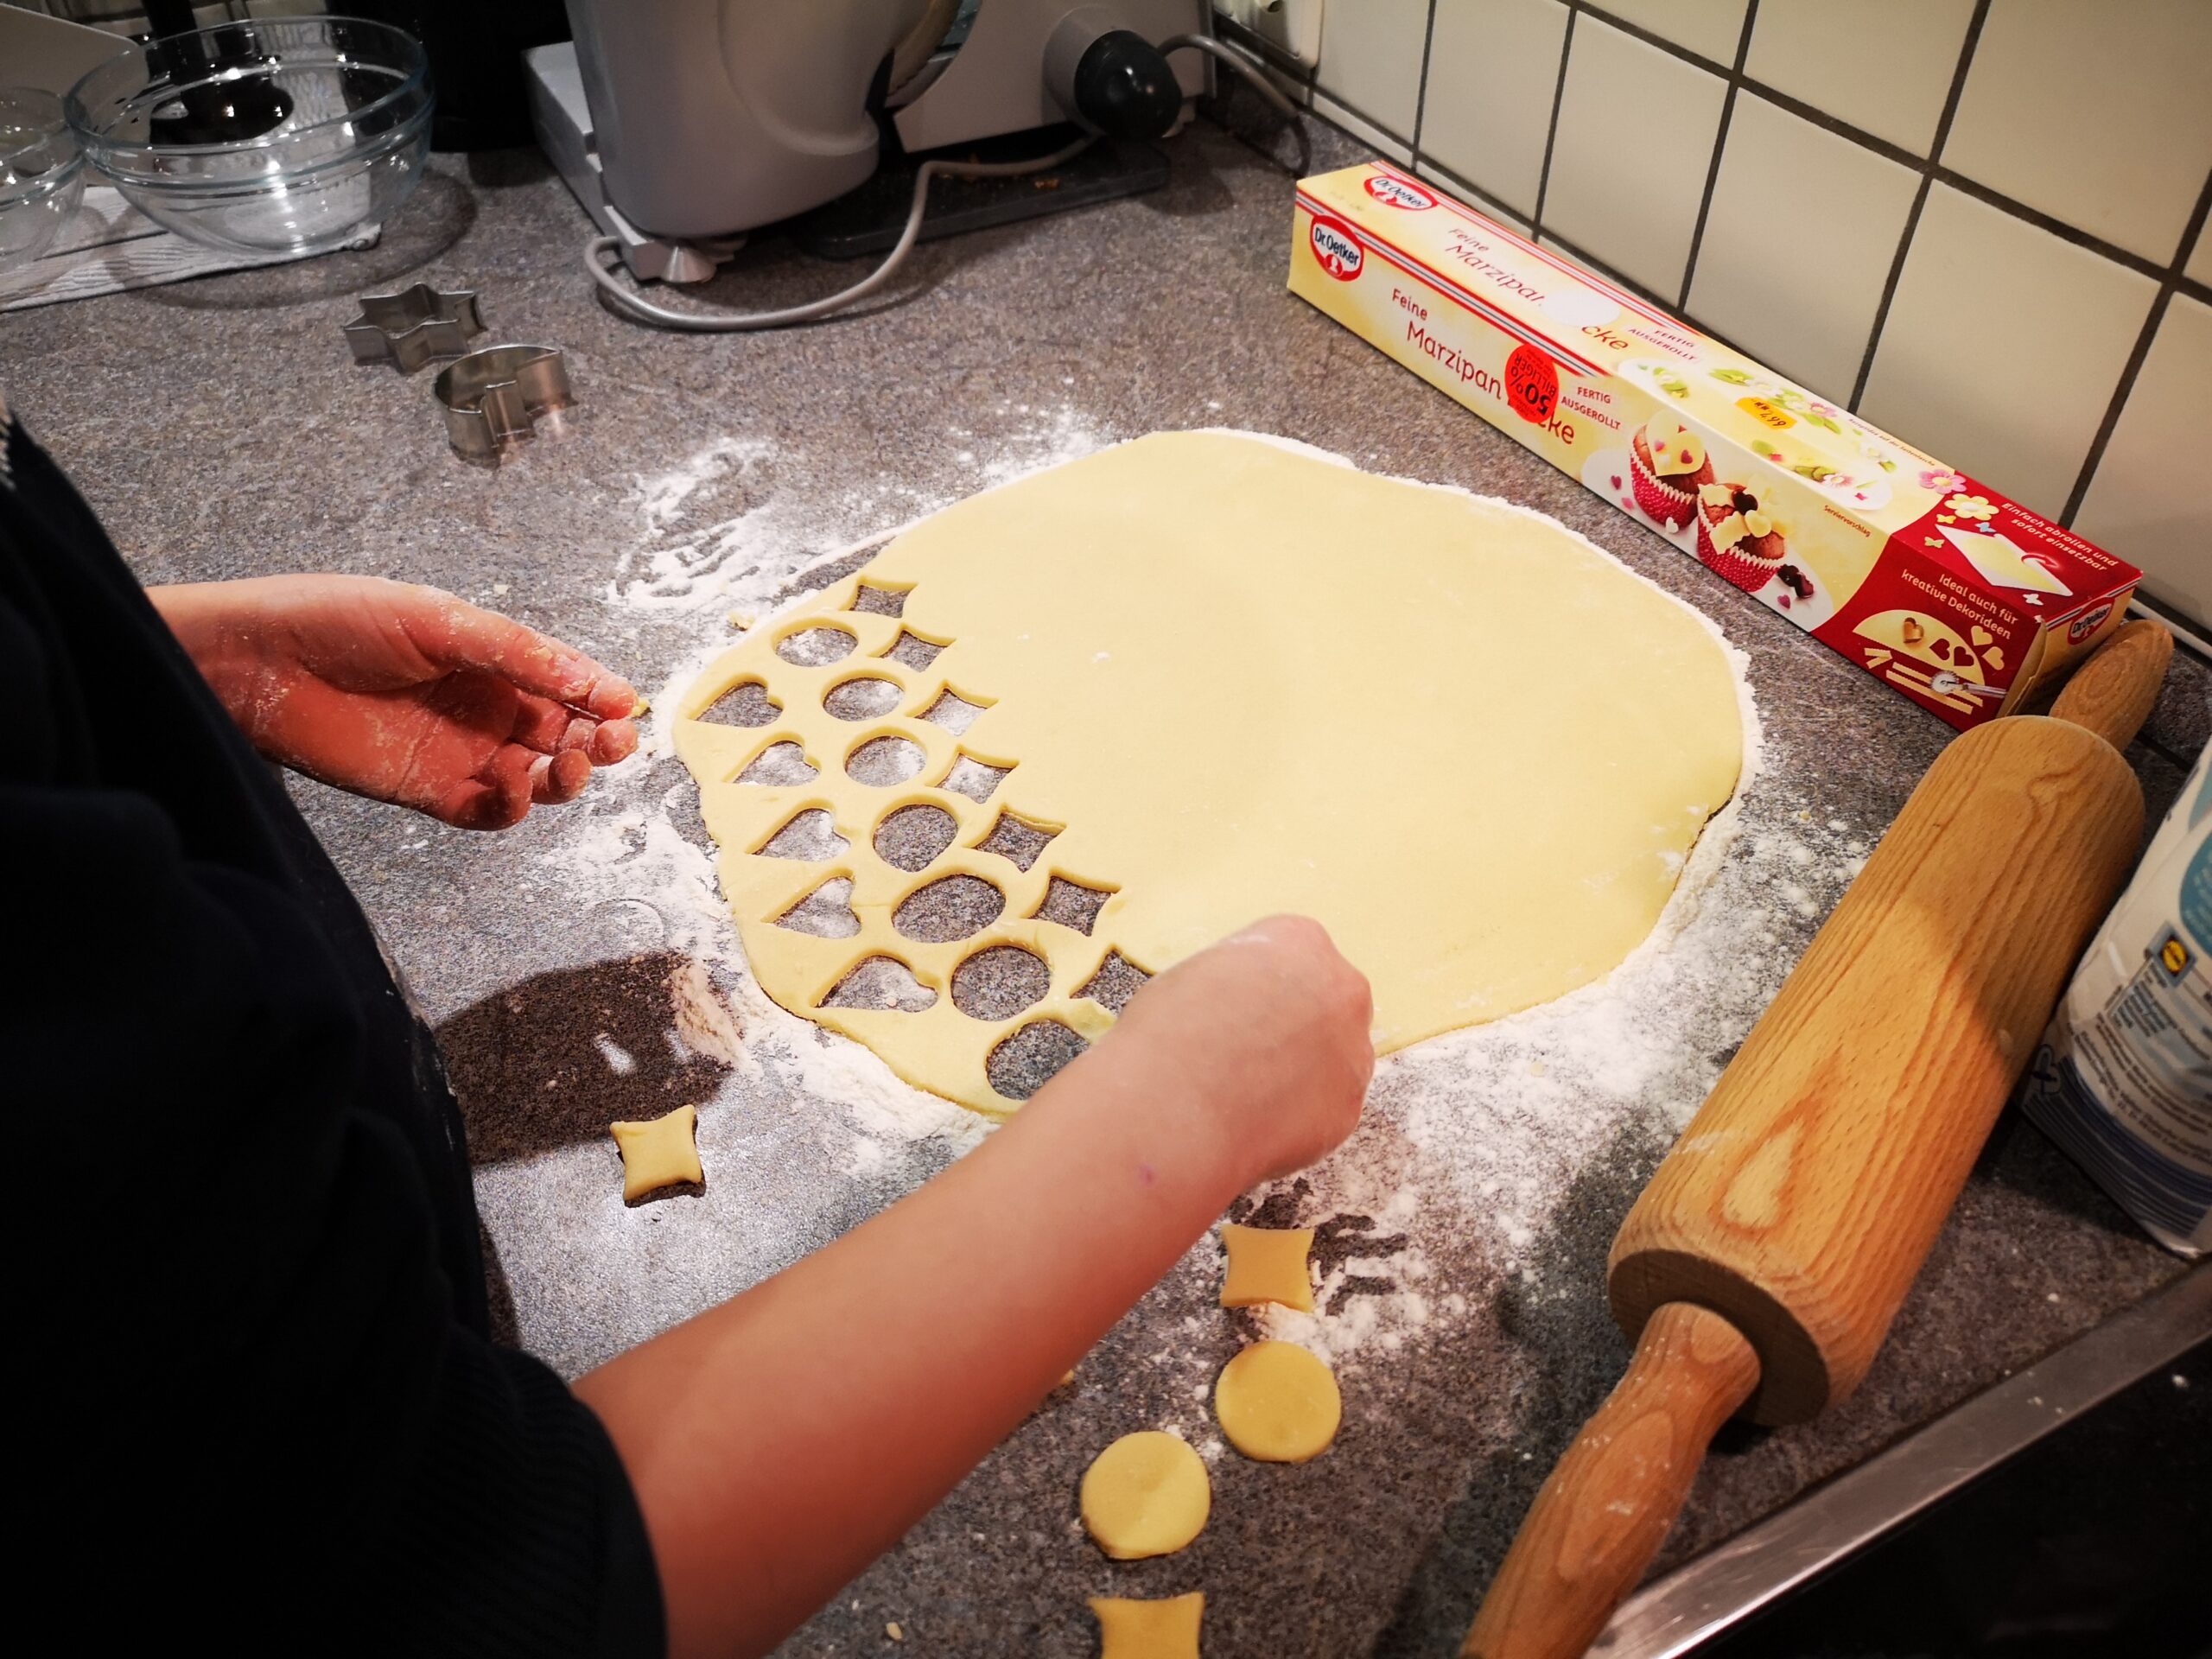
  • Decorate the cookies: Once the cookies are cooled, you can decorate them with frosting, sprinkles, nuts, or other edible decorations. We have also often used thinly rolled out marzipan
  • Let the frosting dry completely: Before packaging or storing the cookies, make sure that the frosting is completely dry

Get creative and have fun! 😉

Need some help with your search?