If you’ve never made homemade modelling clay from salt dough before and still buy commercial modelling clay, then I might have a real eye-opener for you here. The great thing about homemade play dough is that it’s quick and easy to make, it’s non-toxic for your child, unlike conventional store-bought products, and it’s environmentally friendly at the same time. That said, it’s definitely a must-try!
Ingredients
200g salt
300g flour
120ml water
2 tbsp oil (e.g. sunflower)
edible food colouring
1 larger bowl
several smaller bowls, depending on the amount of different colours
Preparation
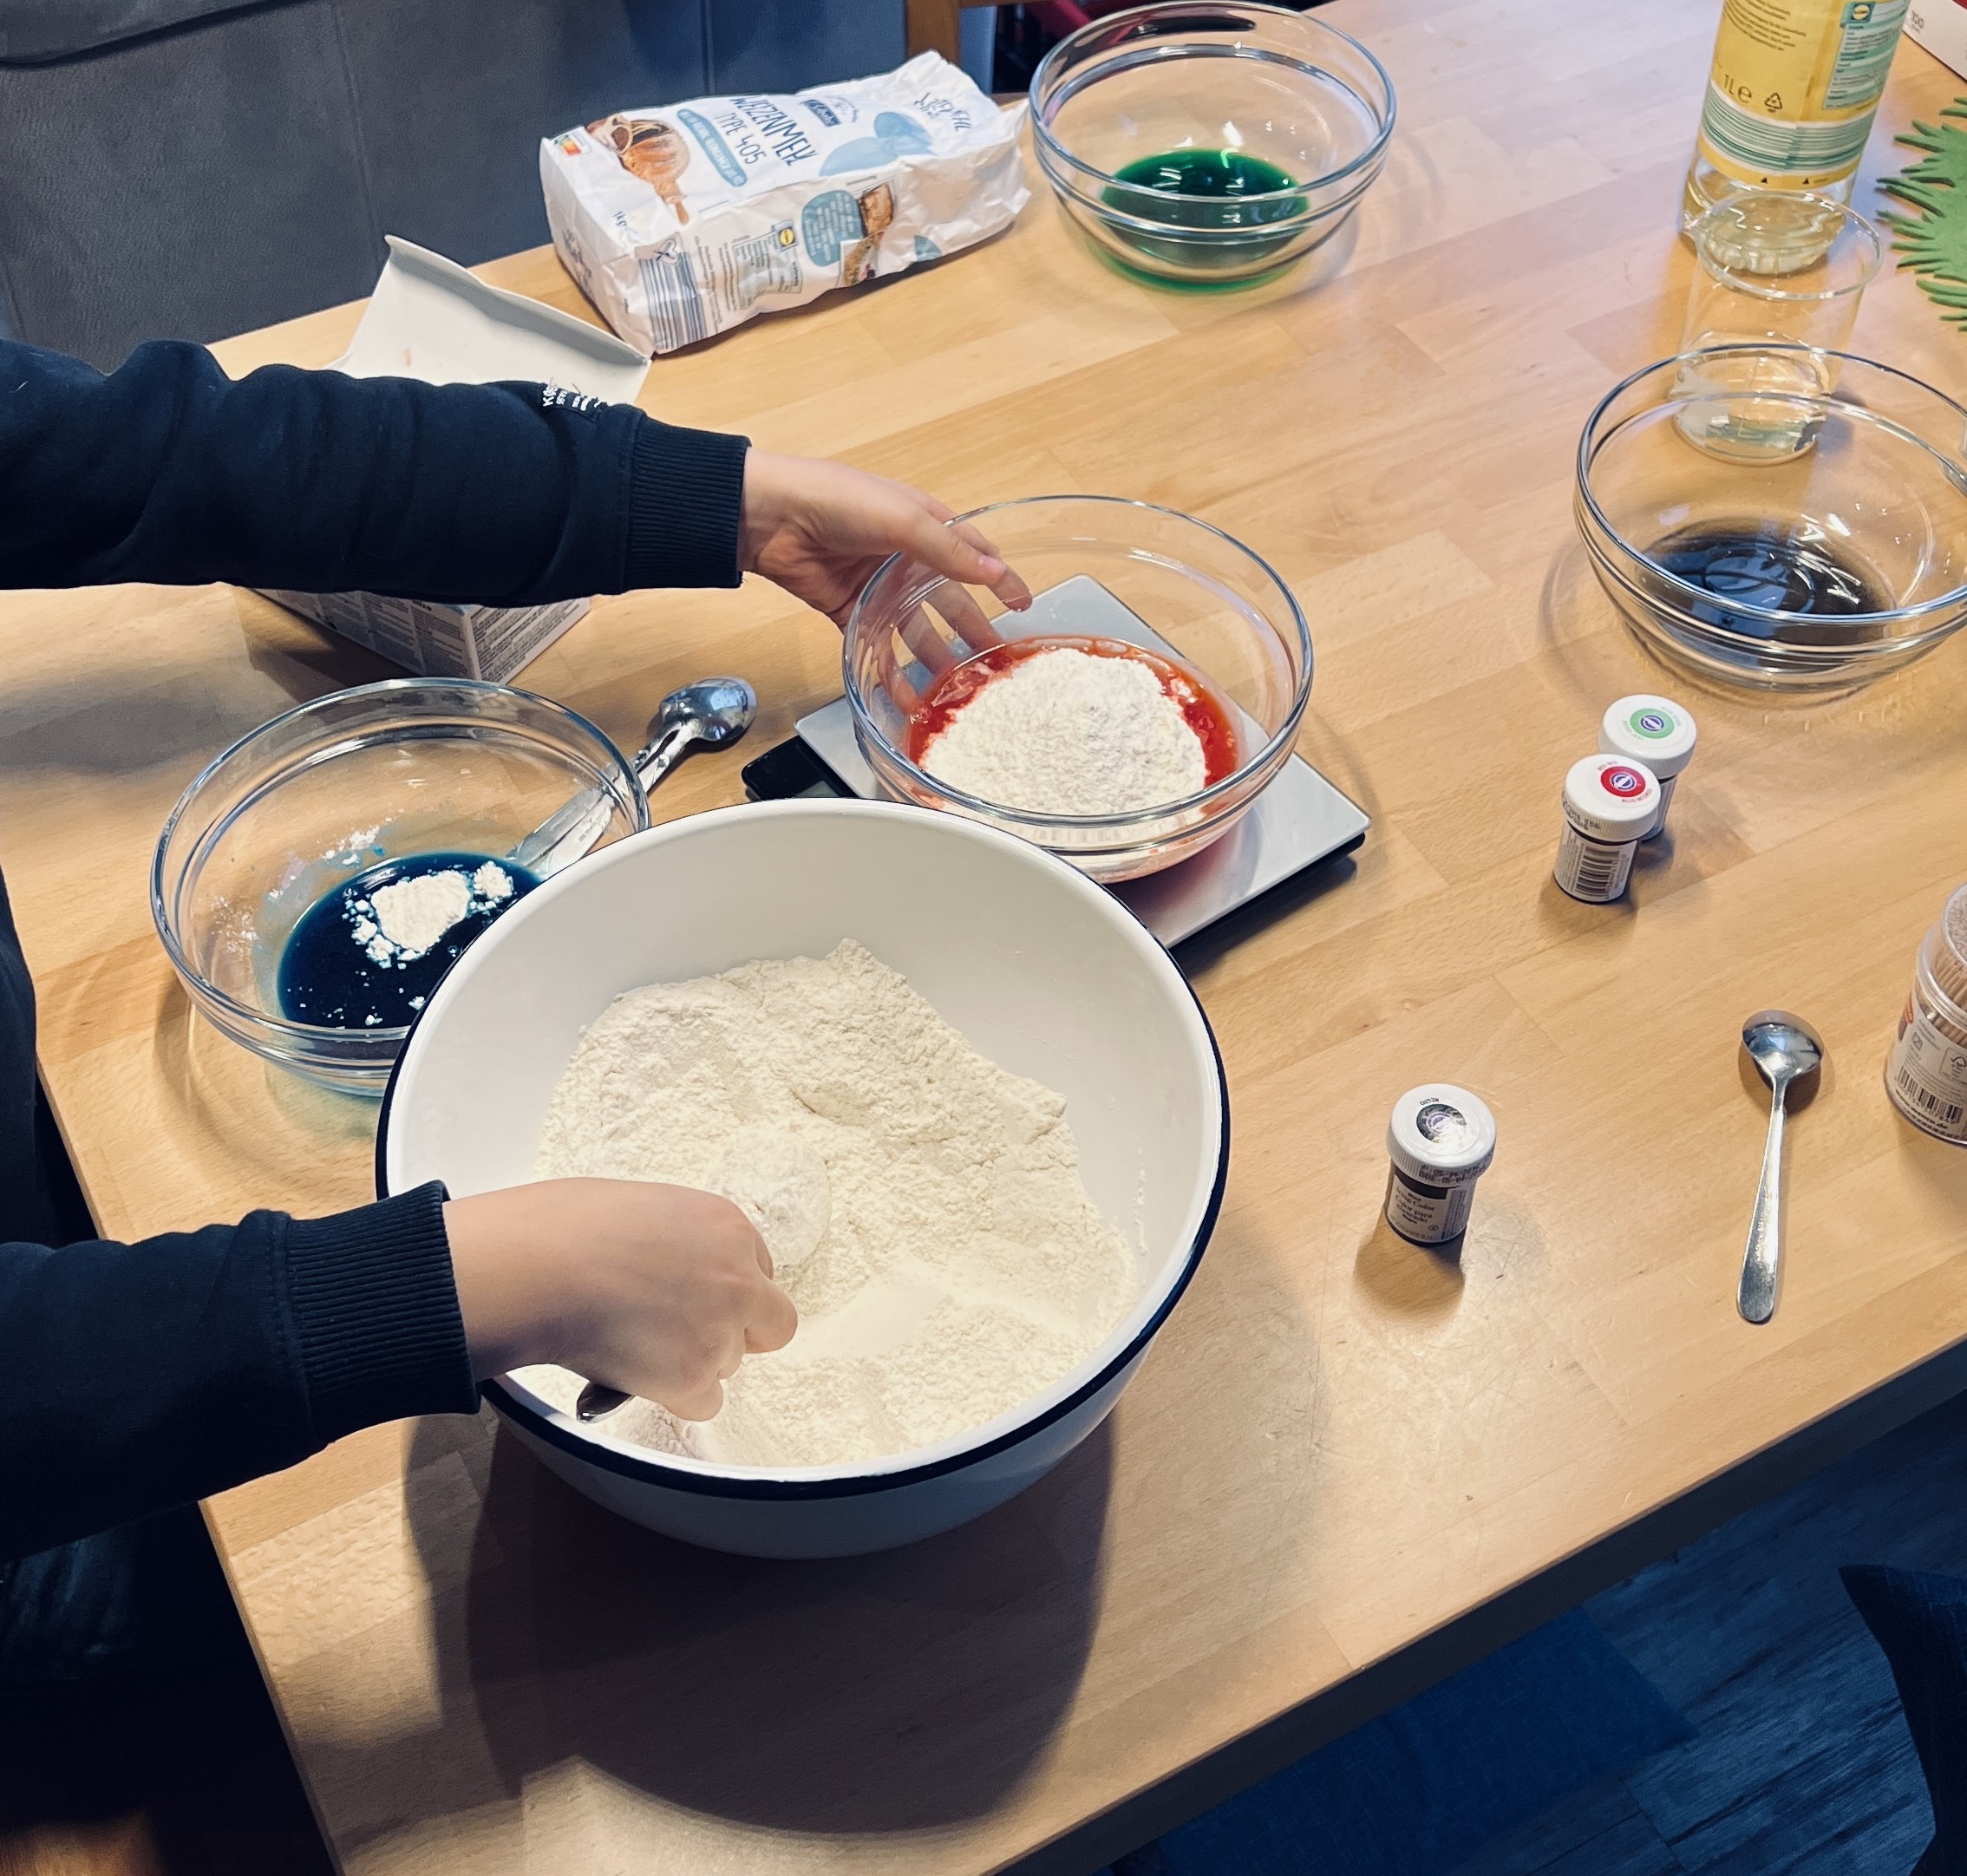
Mix flour and salt in the larger bowl, get the small bowls ready
Divide the water evenly between the small bowls (e.g. 4 bowls = 30ml each)
Add the food colouring to the water
Distribute the oil evenly between the small bowls (e.g. 4 bowls = about 1 tsp each)
Gradually (!!) add part of the flour & salt mixture to the water & oil mixture and stir with a spoon – keep checking the consistency! Otherwise it will quickly become too dry
Proceed in the same way for all other bowls
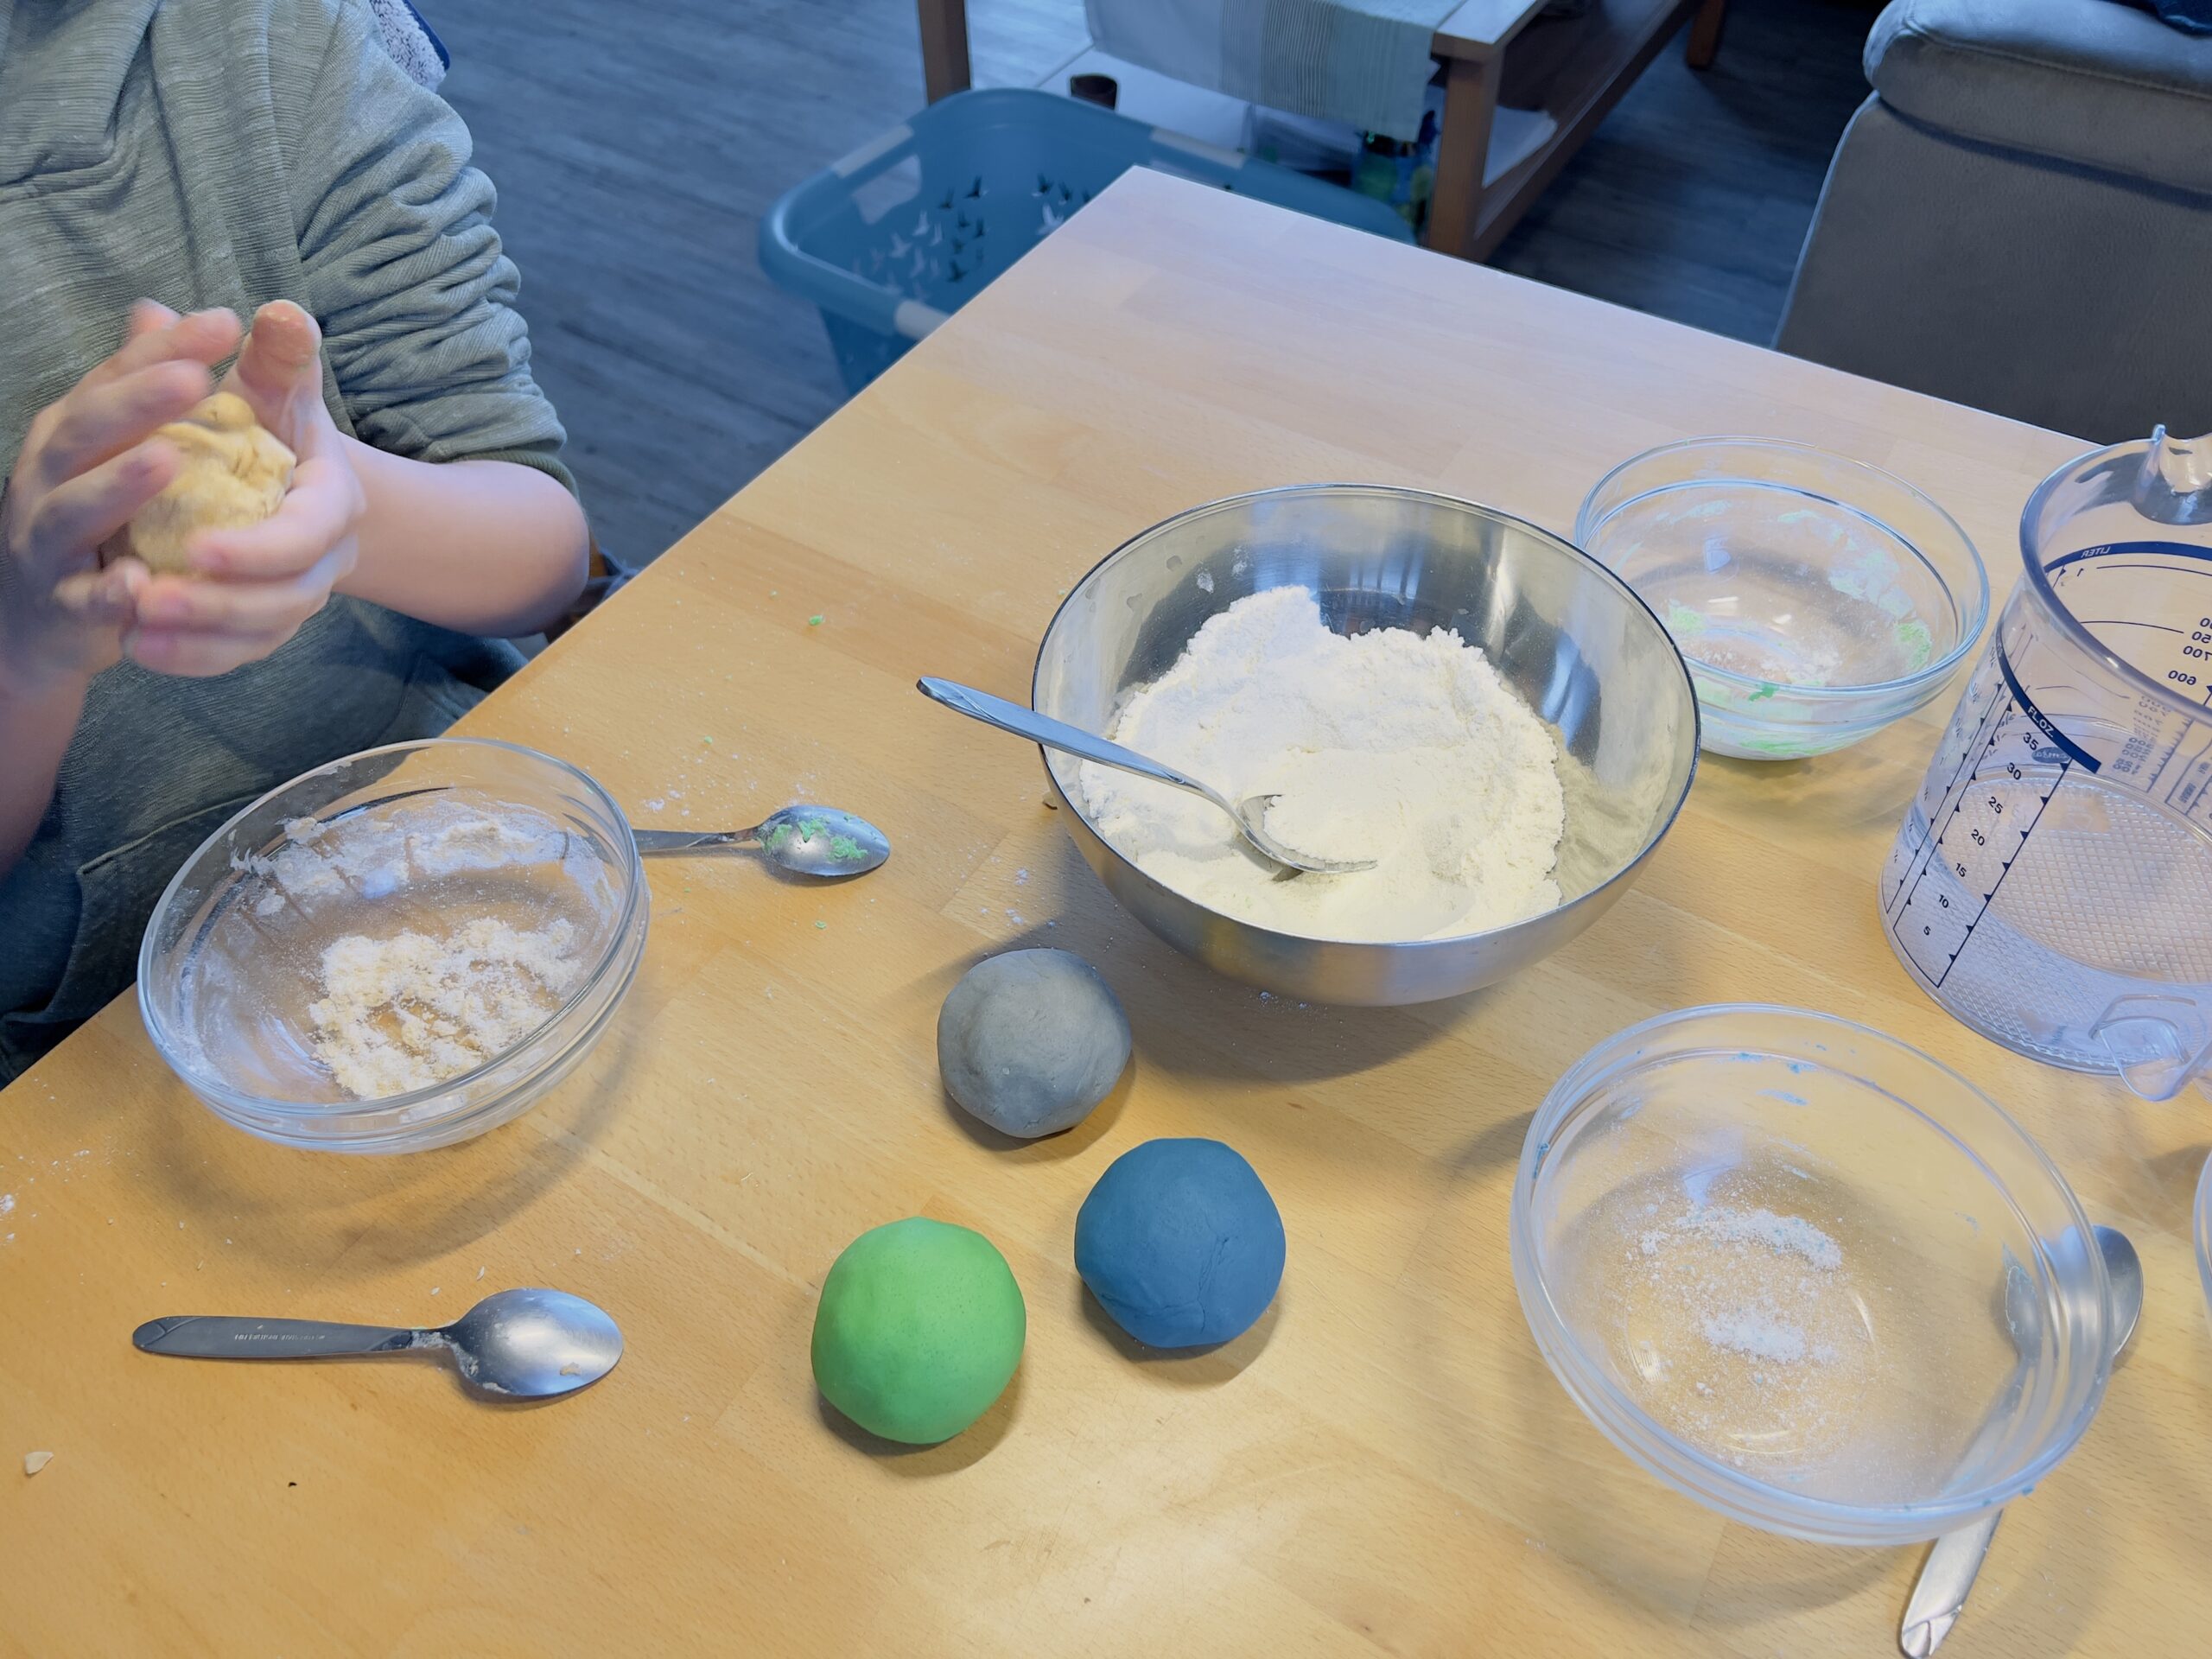
Knead the finished dough thoroughly by hand
If the dough is still too sticky, simply add a little more flour and knead well again
If the mixture is too dry, add a splash of water or a few drops of oil. Simply try out which mixture gives you the best results.
More Articles
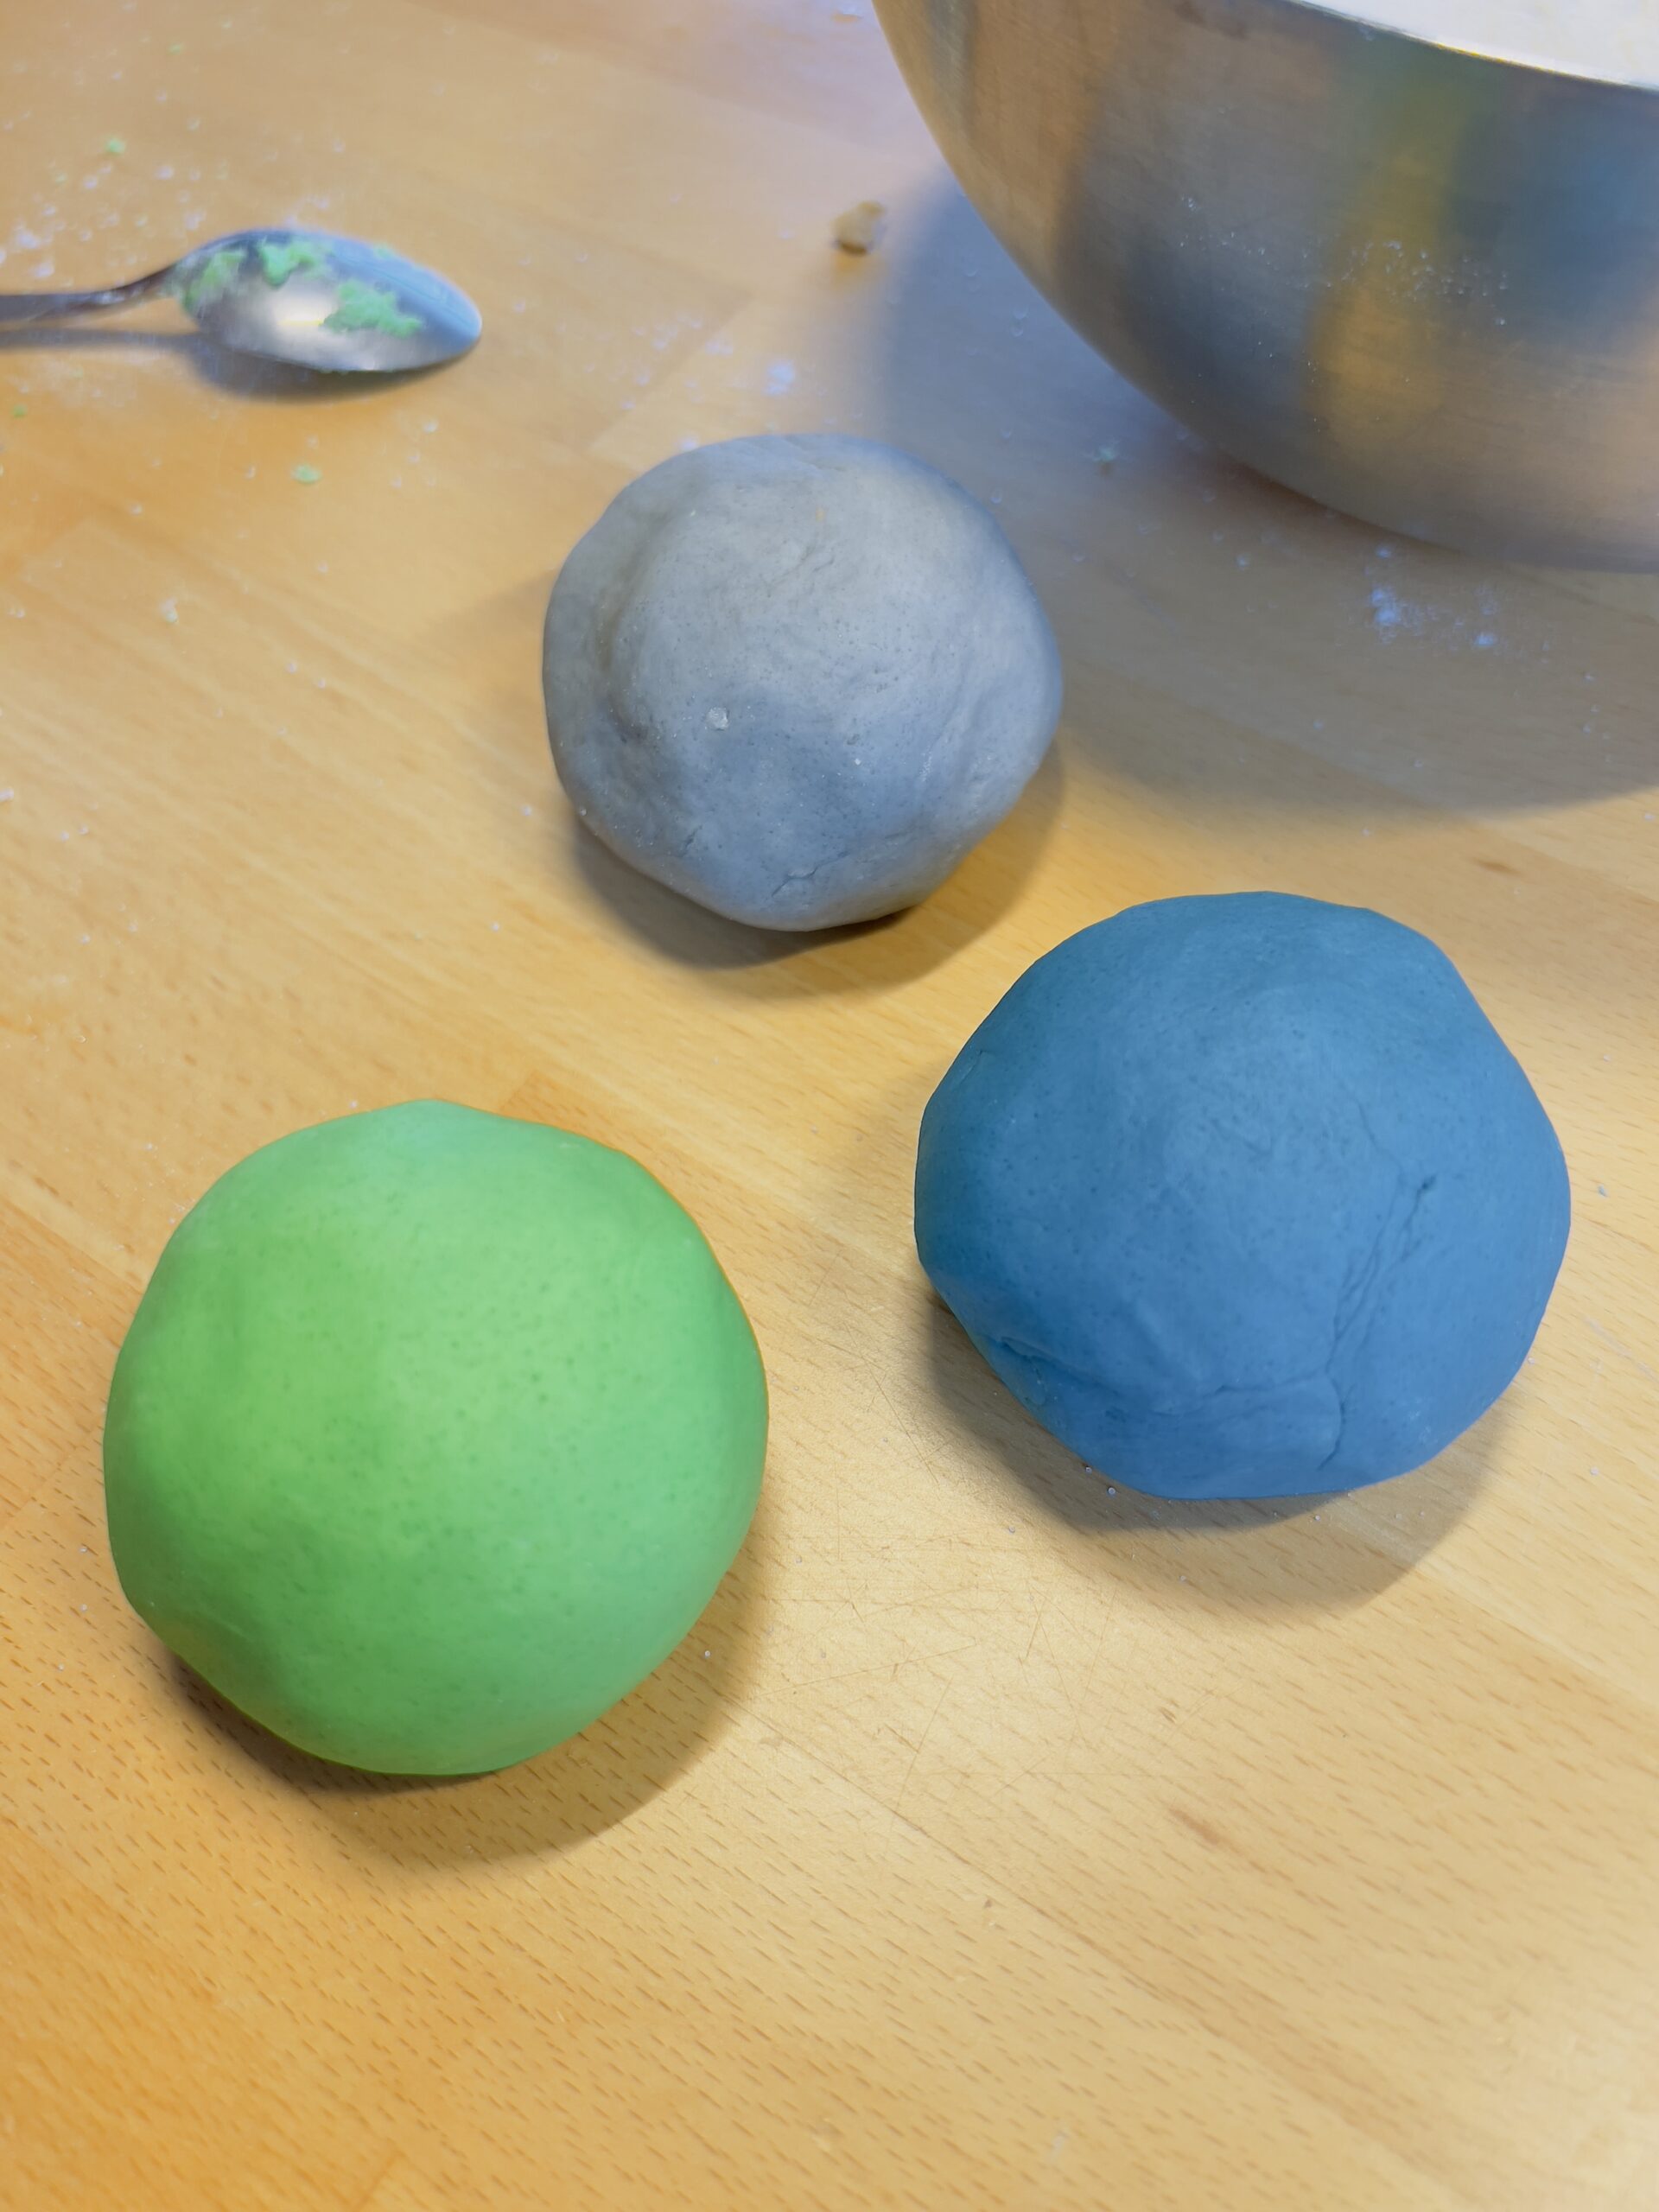
For our very first attempt, we only tried the recipe with a smaller amount of the ingredients because I wasn’t sure how the result would turn out. You definitely have to be careful with the ratio of dry and wet ingredients, otherwise the result can quickly turn out too crumbly or too moist. In both cases, however, you can counteract this quite easily with a little more water or a little more flour+salt. If you follow the recipe and knead the dough well, it usually becomes smooth after mixing for a while.
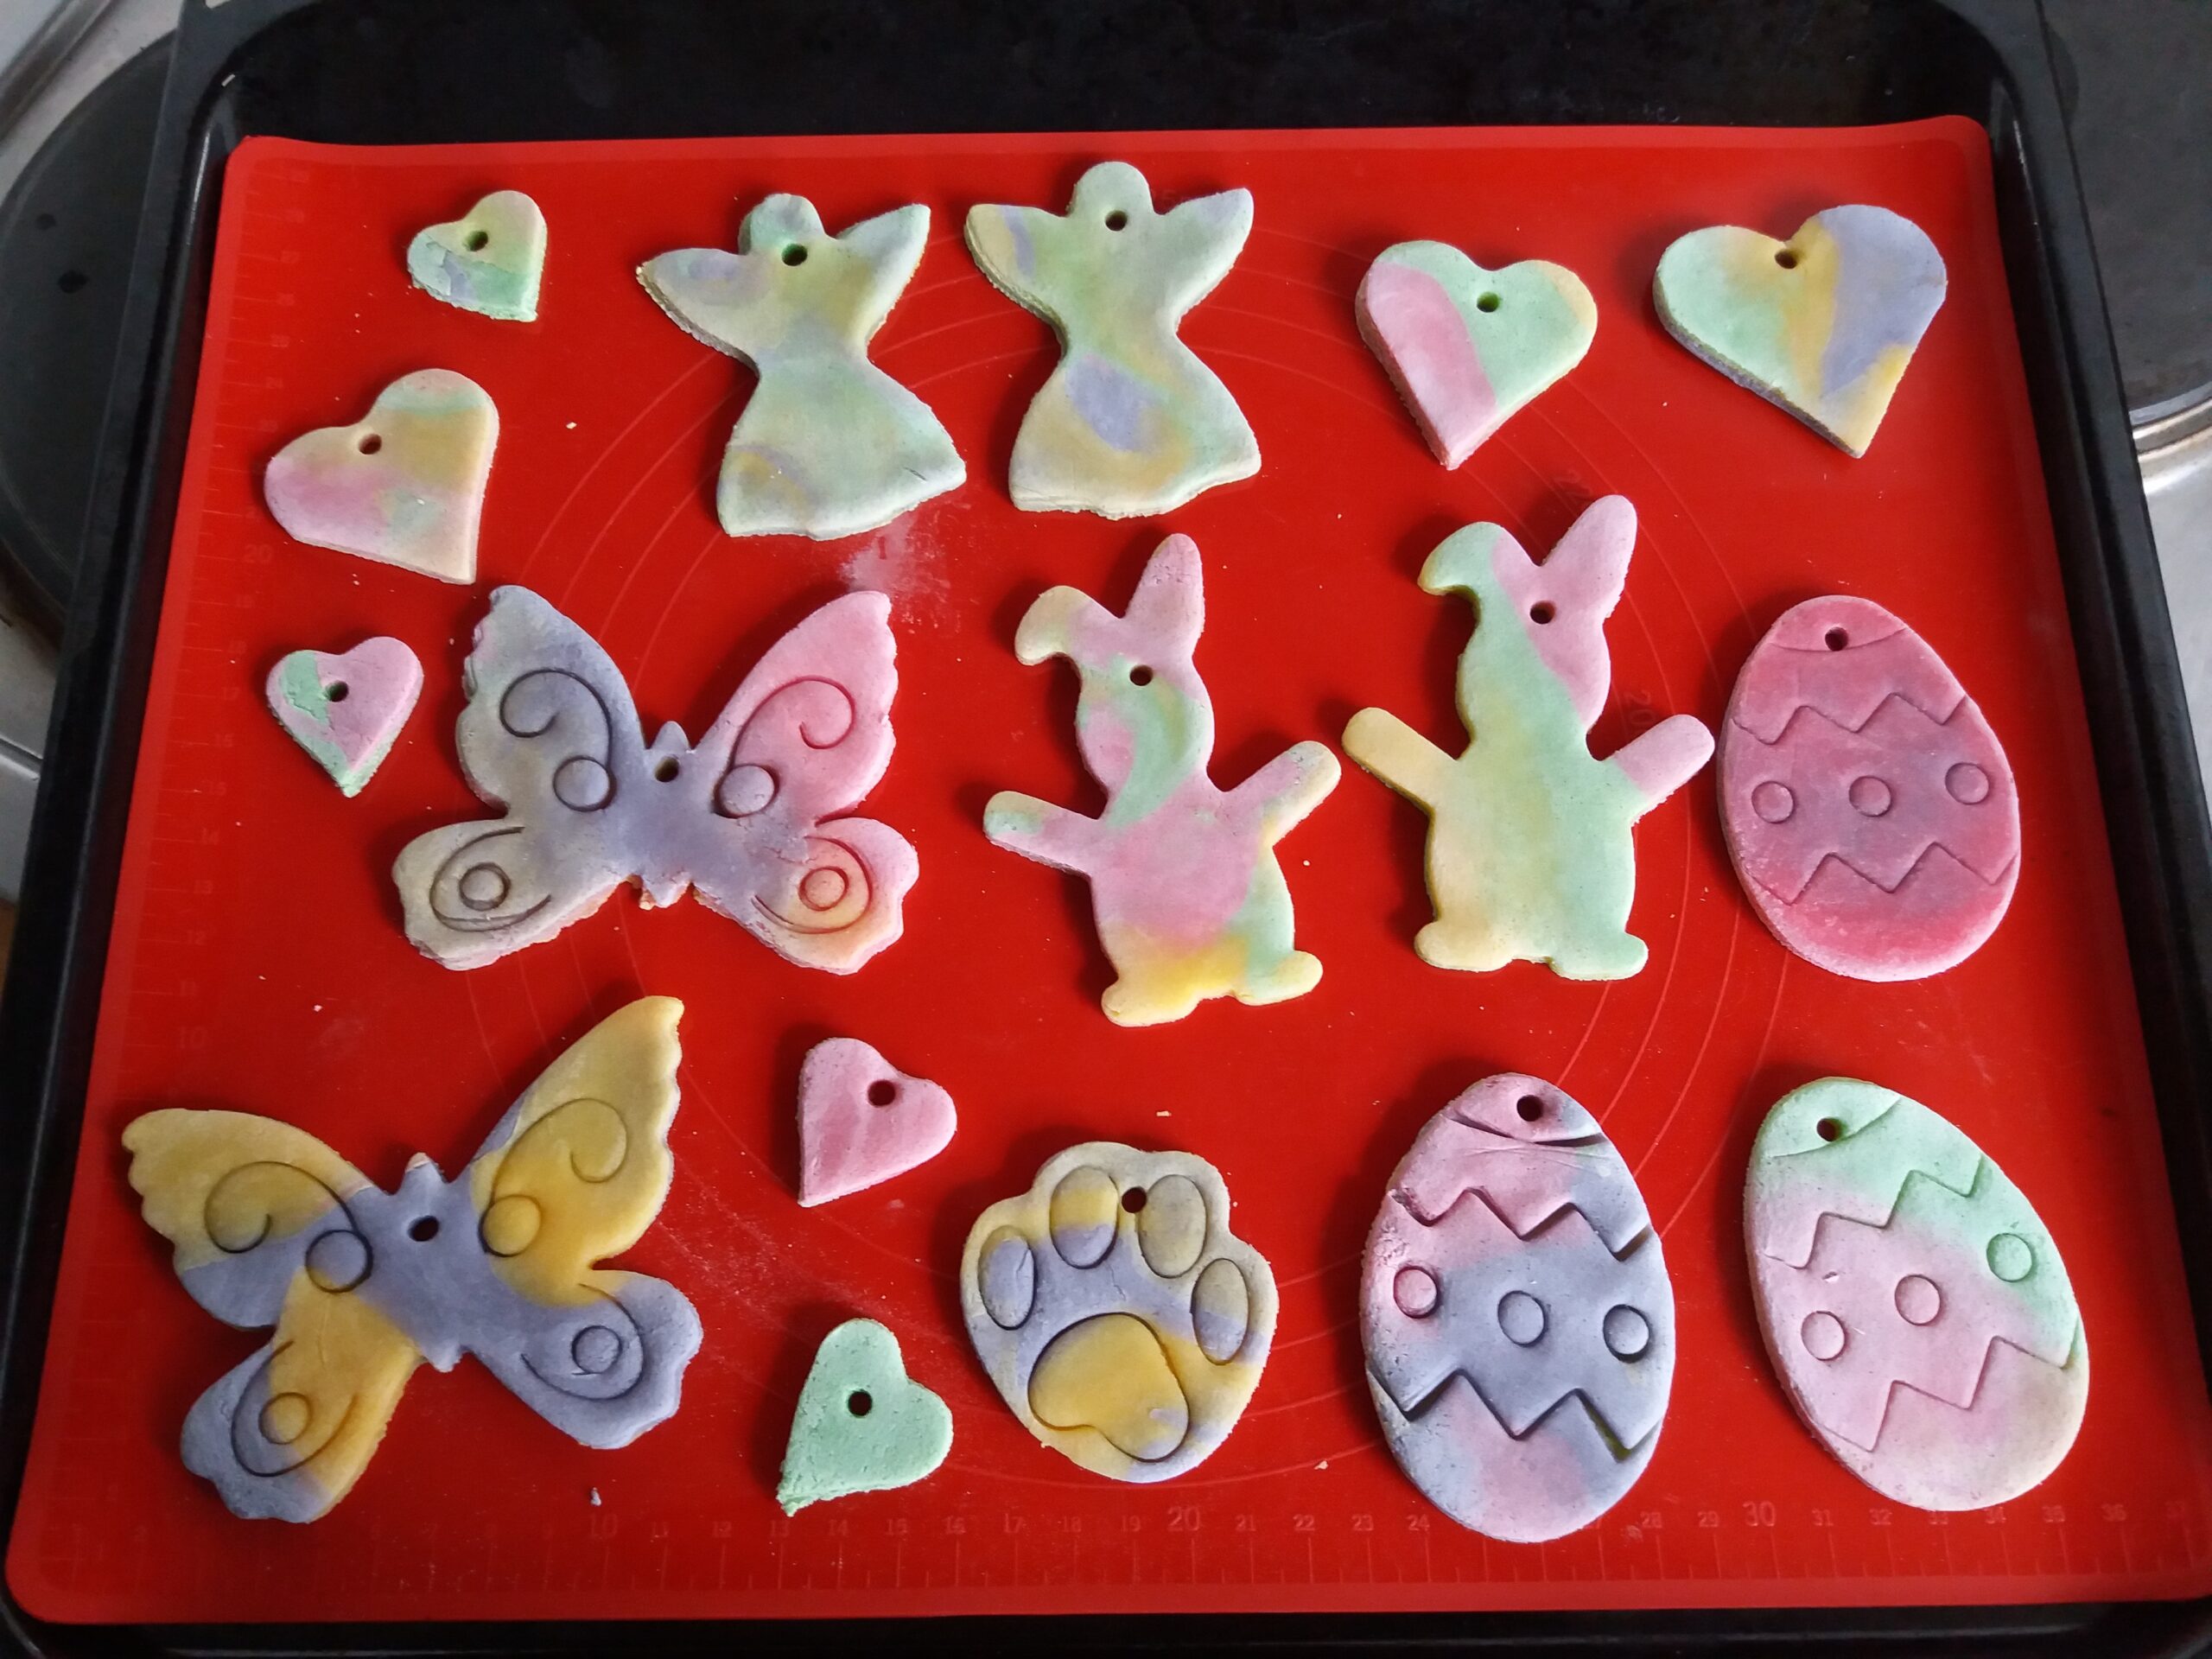
At first we simply played around a bit with the dough and then used it to form Easter shapes / cut them out. These were then put in the oven at 80 degrees for about 30 minutes to dry. In order to hang up the pieces afterwards, we made small holes in them before baking so that we could thread a ribbon through them later.
We stored the remaining dough in a box in the fridge. As my son was on vacation for 3 weeks afterwards, it stayed there until then. After that, the dough could simply be kneaded briefly and then used again. You may need to add a little water to make it smooth again.
Six months later, some of the figures that were played with more intensively were broken, but many were still intact. However, the colors were relatively pale right from the start, so at some point we started using other food colors.
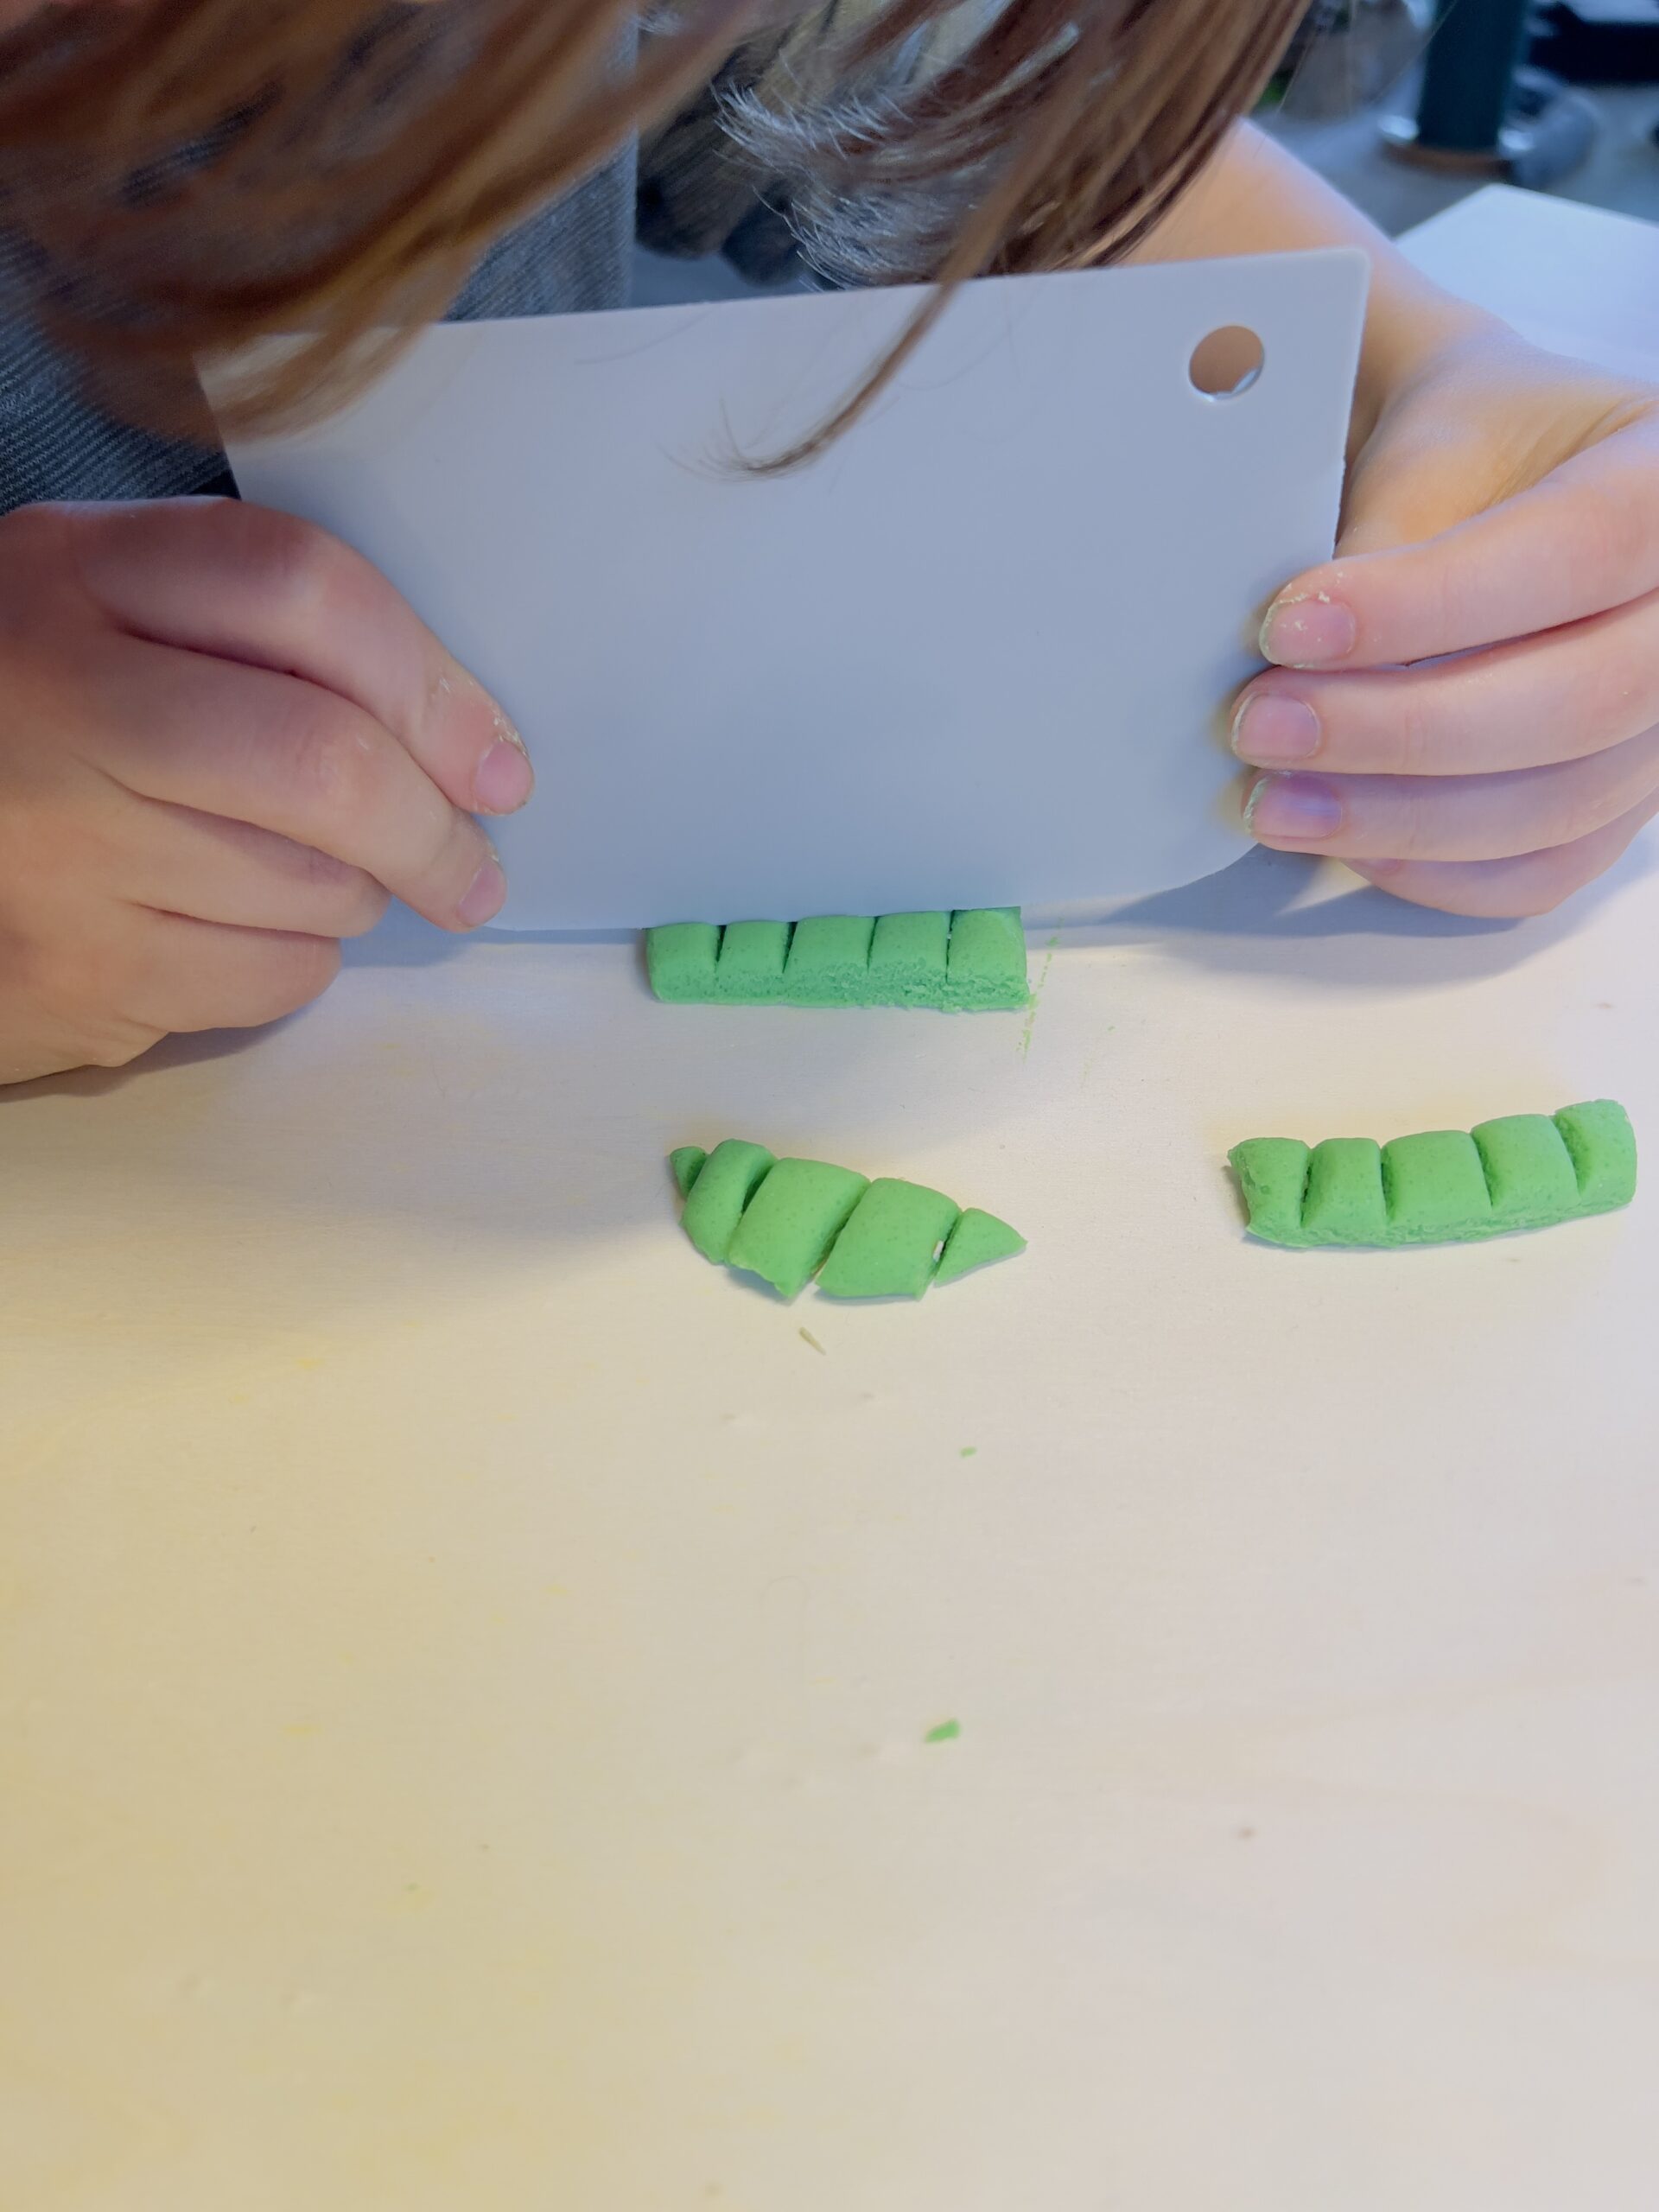
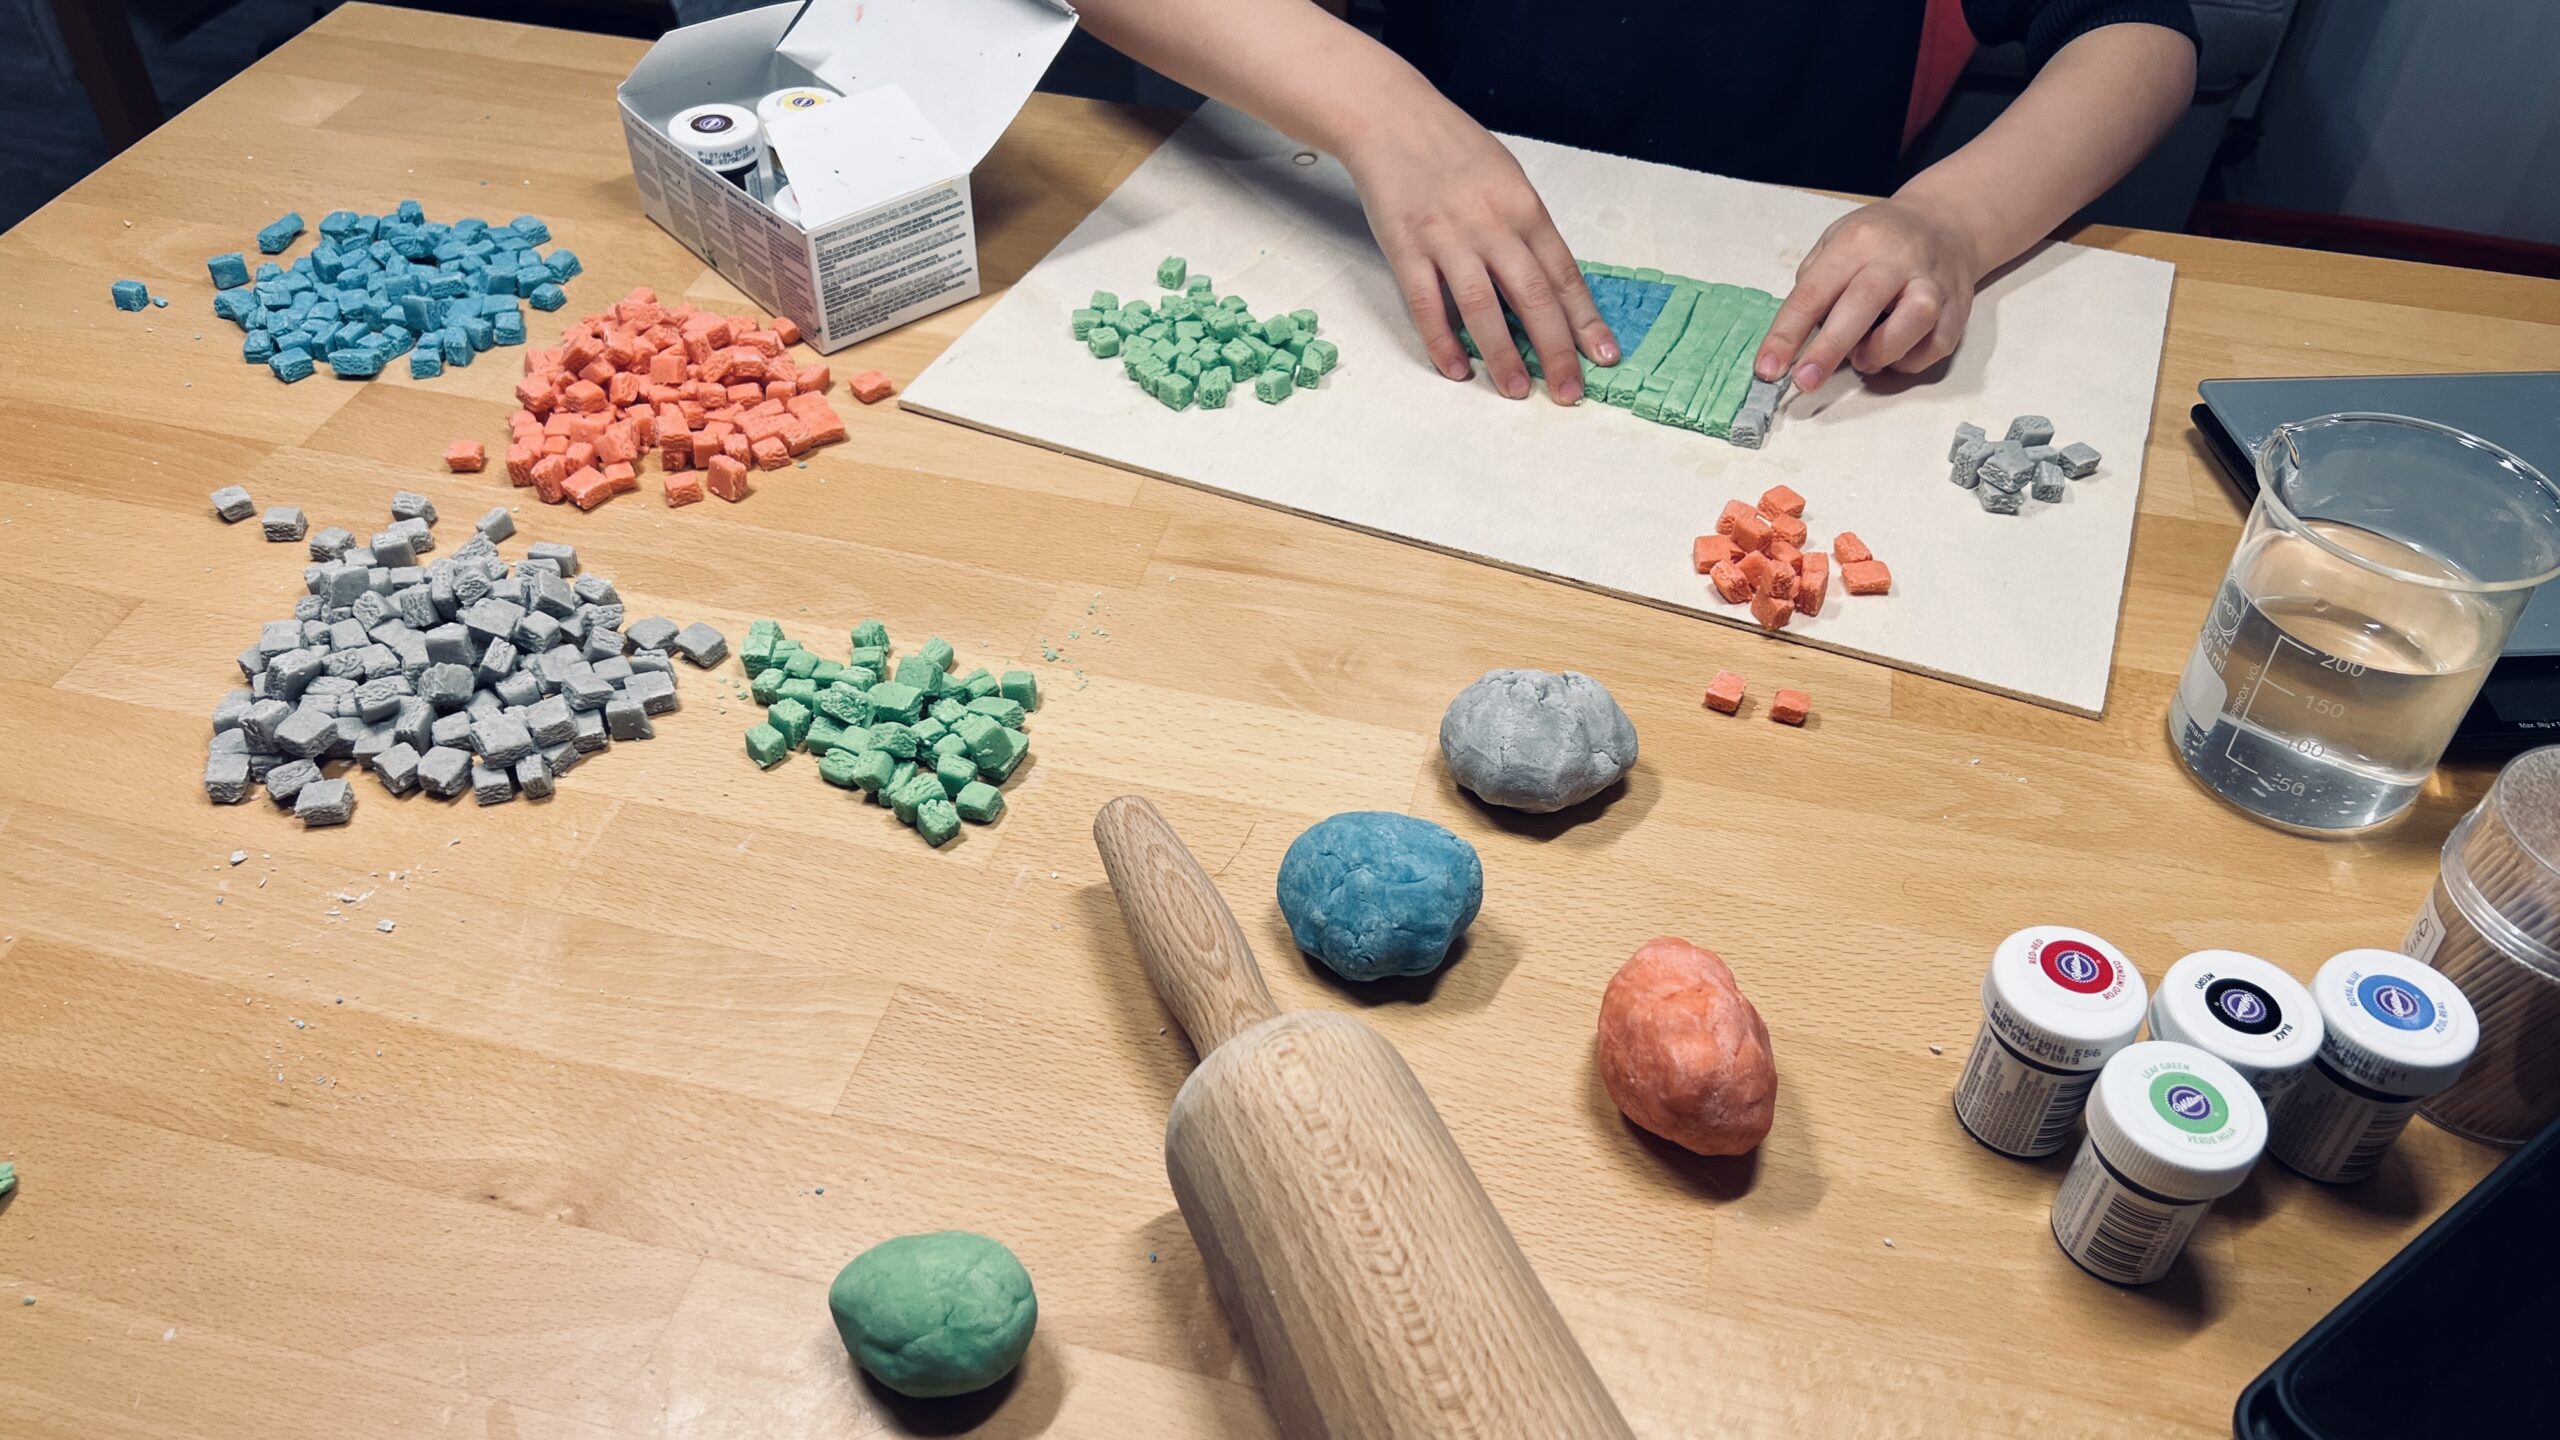
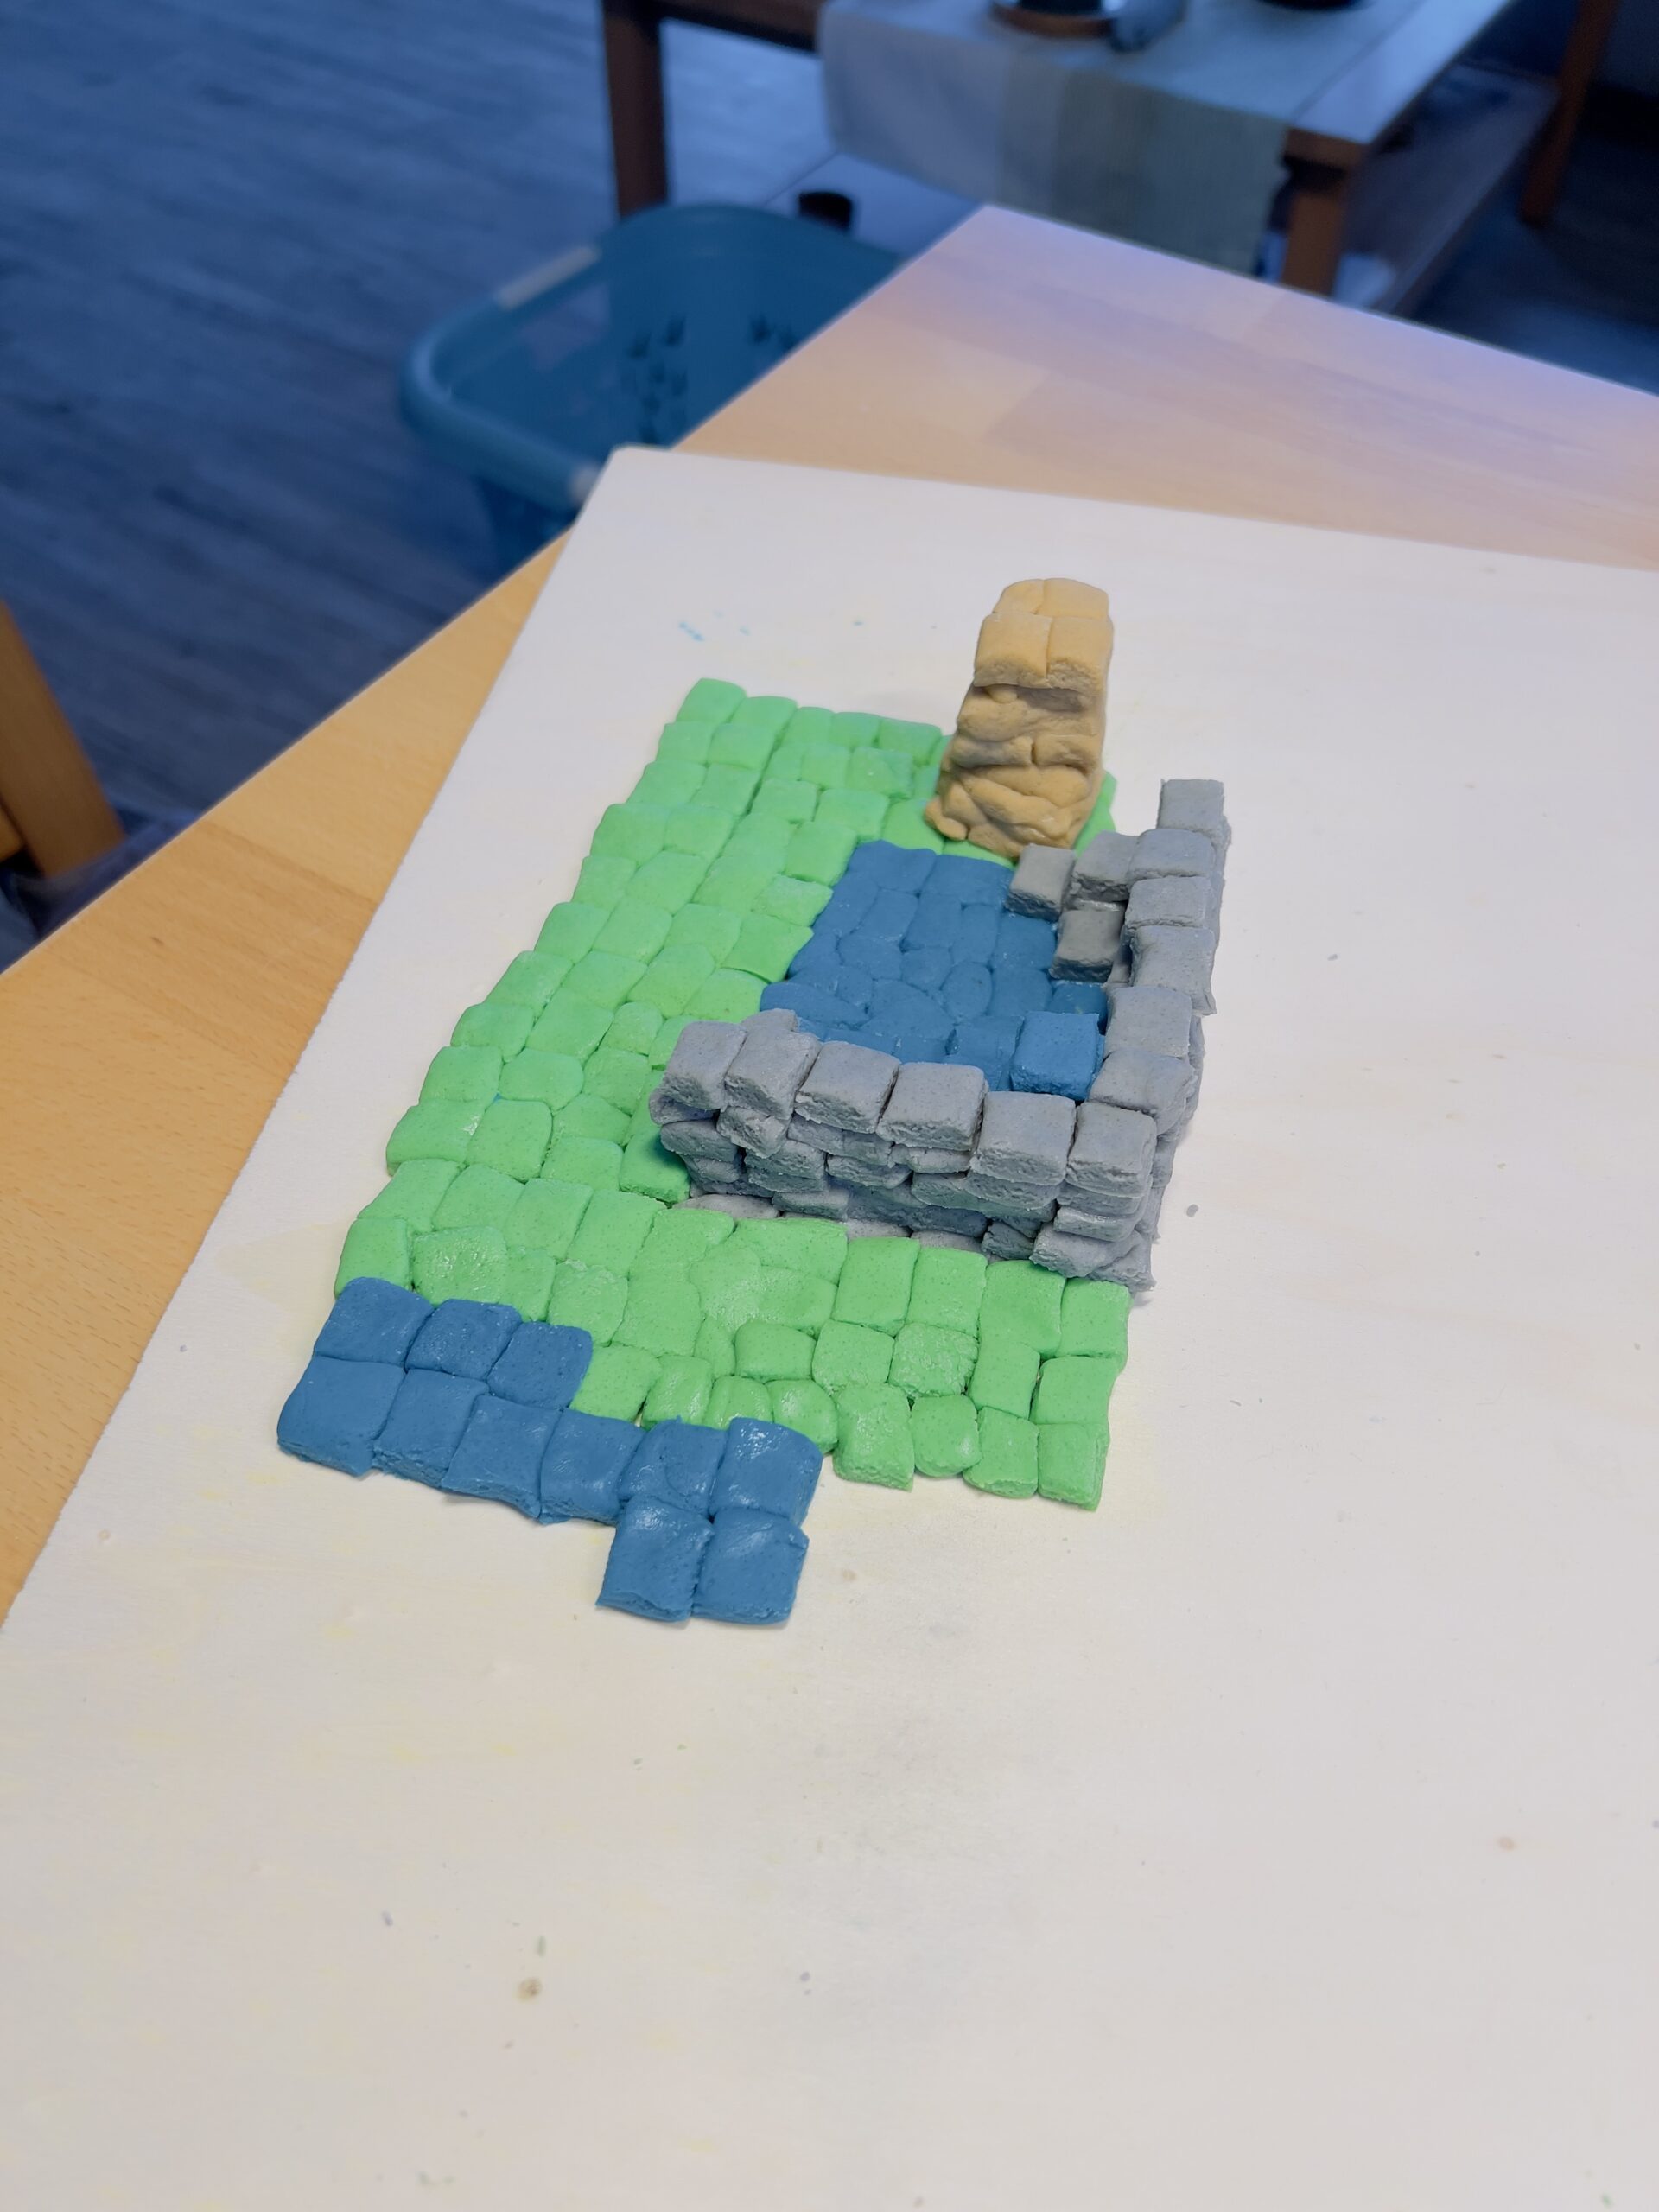
Project: Minecraft
As my son discovered Minecraft at some point (see also our Lego Minecraft buildings), we naturally came up with the idea that you can use the homemade dough and a dough card to form small blocks that can be used to recreate parts of the Minecraft world. Unfortunately, we lost interest in this project at some point, but maybe you can use it as inspiration to make your own individual project out of it!
Conclusion & Tips
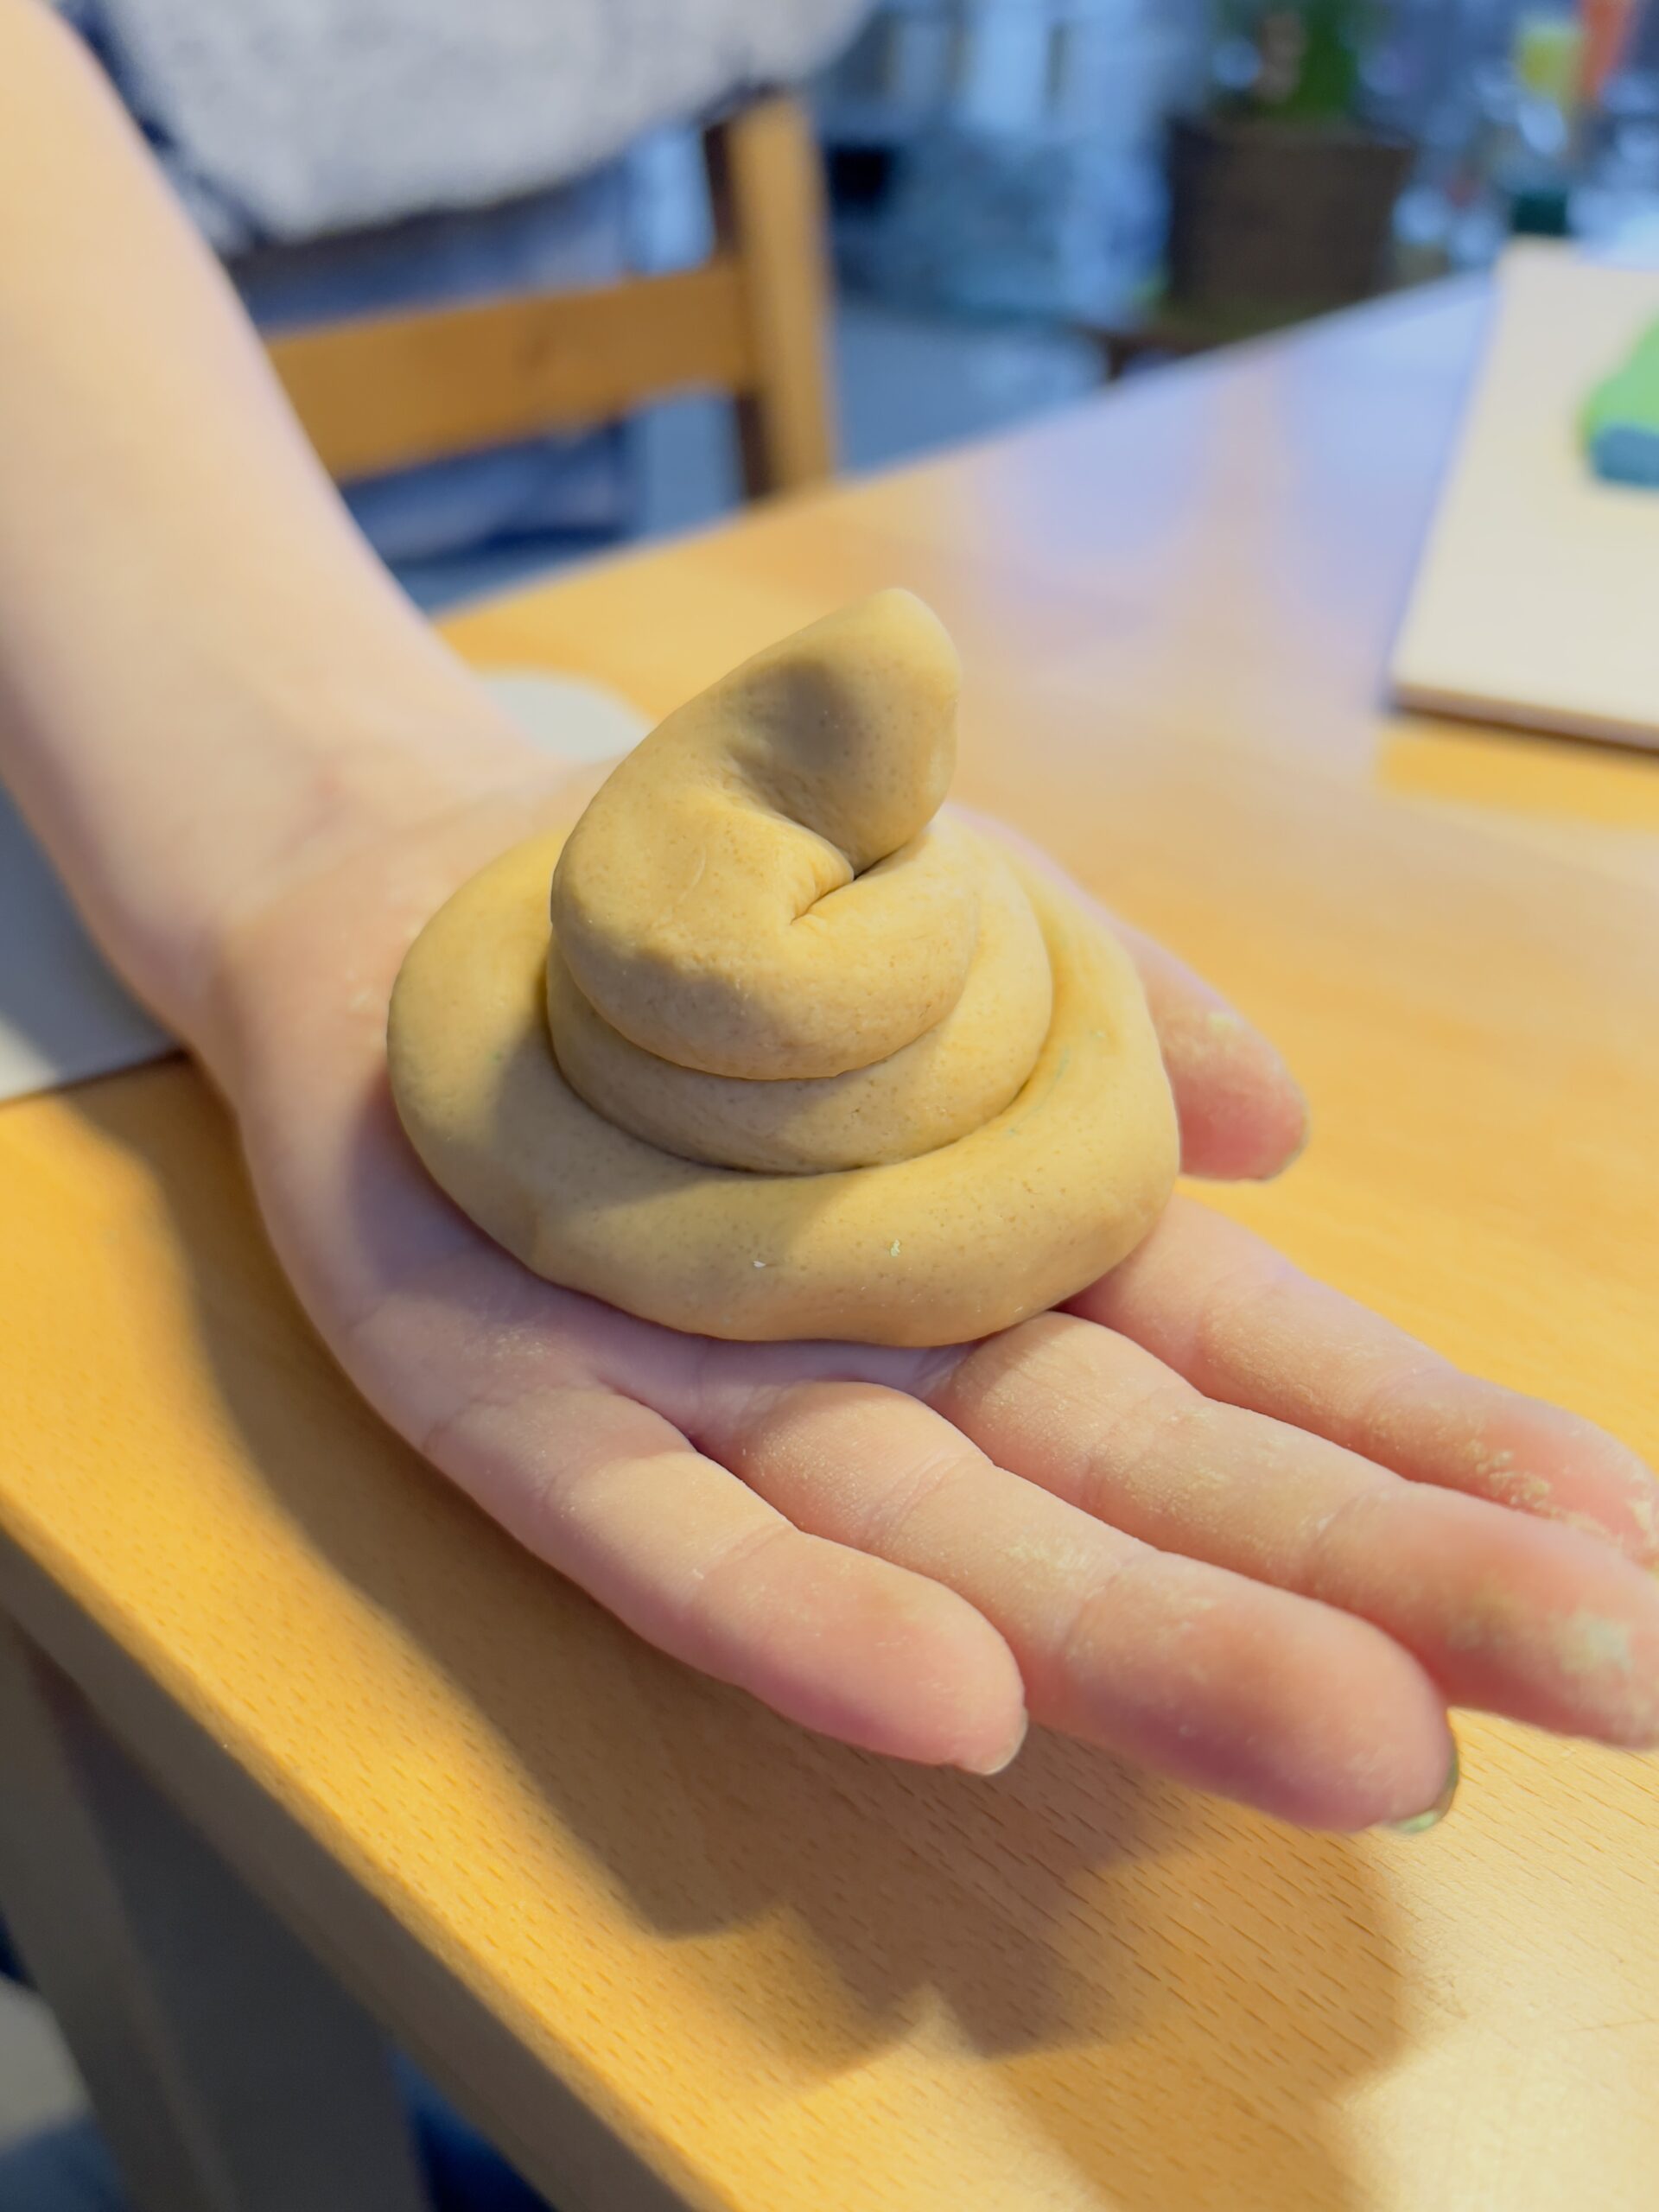
Of course, the 11-year-old – at that time – also came up with a lot of nonsense, as you can easily see in the picture on the left. But I think that’s part of it and it’s fun to see how a child like that can let off steam creatively.
Tips:
Simple Shapes and Objects: Start with basic shapes like spheres (balls), cubes, cones, and cylinders. These can be used to create standalone sculptures or combined to form more complex objects like houses, cars, or animals
Food Sculptures: Create miniature versions of your favorite fruits, vegetables, or baked goods. This can be a fun activity for kids and adults alike
Jewelry: Make simple pendants, beads, or charms using modeling clay. You can even add details with toothpicks or craft tools before baking or drying
Decorative Bowls or Coasters: Mold the clay into small bowls or coaster shapes. Once dry, you can paint them or leave them plain for a rustic look.